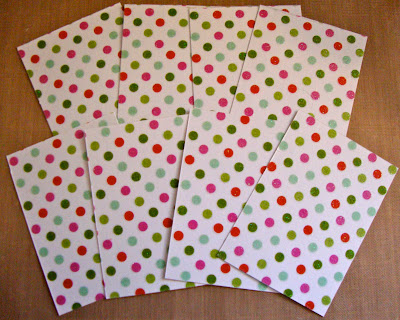
Step 1) I cut my patterned paper down to size (3.5"x2.5") This is from a DCVW stack from 2 xmases ago.
Step 2) I inked over the whole paper piece with Festive Berries Distress Ink from the Winter 2011 Limited Release. The polka dots on this paper have a glitter coating that worked as a great resist.
Step 3) I misted the whole piece with Pearl Glimmer Mist.
Step 4) I inked some small pieces of white card stock with Forest Moss Distress Ink. I did this before cutting my shape b.c of how delicate the die cut is.
Step 5) Here you can see the die cut. I used Sizzix sizzlets Christmas Tree #5. After they were cut, I misted them with Evergreen Chalkboard Glimmer Mist.
Step 6) I covered the little star on top with Silver Stickles.
Step 7) I adhered my paper to light weight chipboard bases for stability. Then I used my 1/4" corner chomper on all four corners.
Step 8) Seems I missed taking a few photos, oops! I cut white card stock using Spellbinders Labels 18. Then I used a Silver Ranger Dabber to paint the whole shape with two coats.
Step 9) I used Staz-On in Jet Black to stamp a sentiment from Inkadinkado's Warm Holiday Wishes.
Step 10) Here are all the pieces so far adhered together.
Step 11) The corner needed a little something, so I stamped these holly leaves on white card stock in Memento Tuxedo Black. The stamp is from a $ bin set at Michaels. I colored the leaves with Copic BG78 and the berries with R27.
Step 12) I stamped Perfect Medium all over the entire piece of paper and dusted on Perfect Pearls in Pearl. Don't forget to set them with water like I almost did :)
Step 13) I cut out each little leaf set and adhered it with dimensional adhesives to the corner. Tip: I like to run the marker I used around the shape after cutting out to sharpen the edges.
Step 14) I still wanted some more glitter so I used white glue all around the edges and dipped them into some chunky silver glitter.
Step 15) I still needed a bit more sparkle so I randomly adhered some rhinestones to the trees.
Have a great day!!


No comments:
Post a Comment