Friday, August 27, 2010

Baking Challenge - August '10

Do you ever feel like making brownies just so you can eat the batter?  Then make these!!

The recipe that should have been my August challenge involved nectarines - get it here - but since I have not enjoyed my last few baking attempts with peaches I decided to choose another recipe from the issue.  No-Bake Fudge Brownies - here we go.

Always have to start by prepping your pan - this time line a square baking dish with plastic wrap.

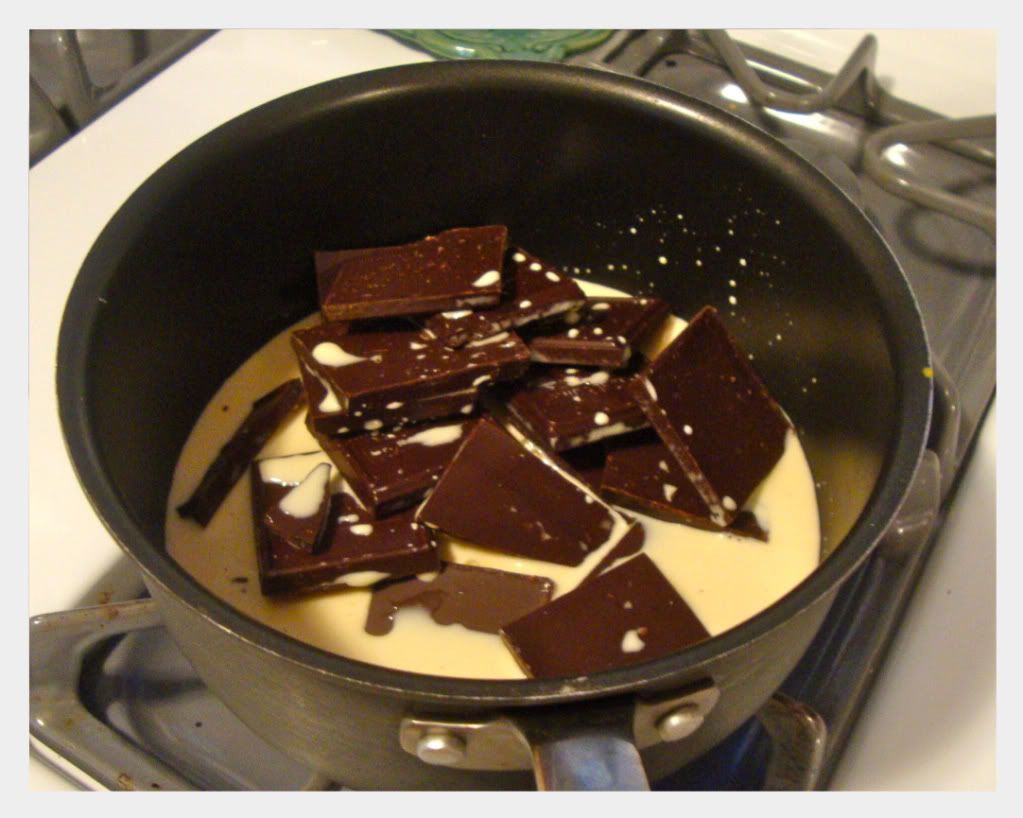
Then start to melt your chocolate and evaporated milk together.
Once that is all melted and incorporated, add your vanilla and reserve 1/3 cup of the chocolate sauce.

Grind your cookies (the recipe calls for chocolate wafers, but it is much cheaper to use oreos)  then add sugar and salt.  I omitted the coconut and peanuts, but this is when you would add them.


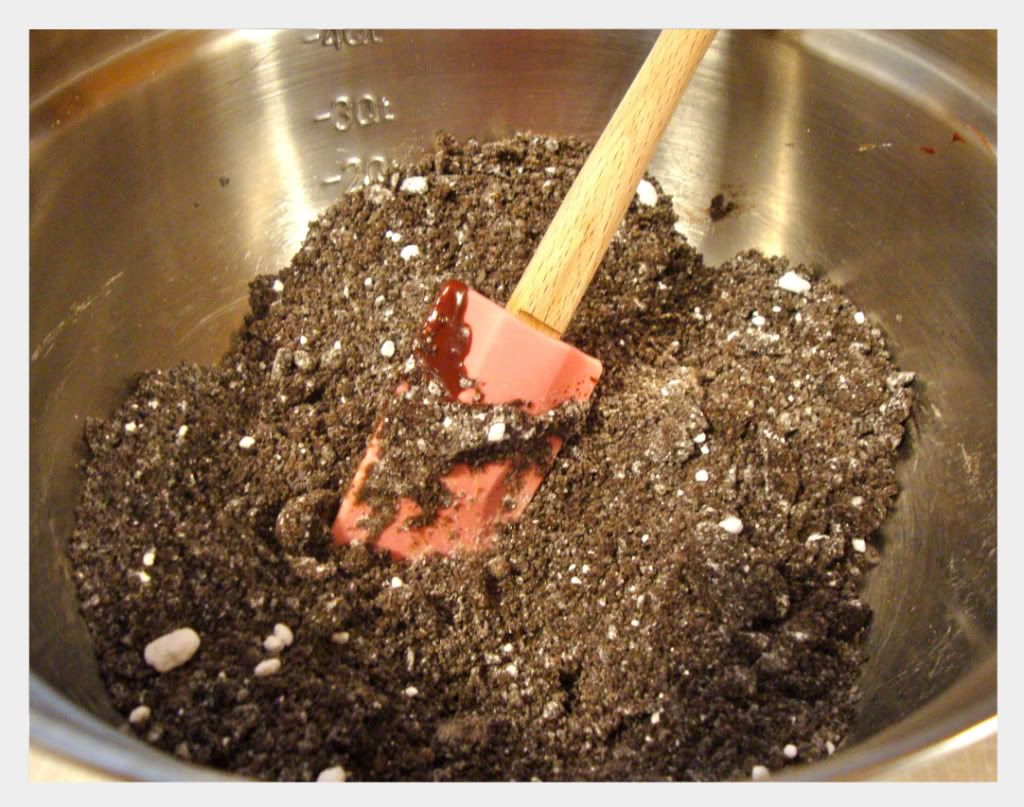
Then add your chocolate sauce and stir to combine.

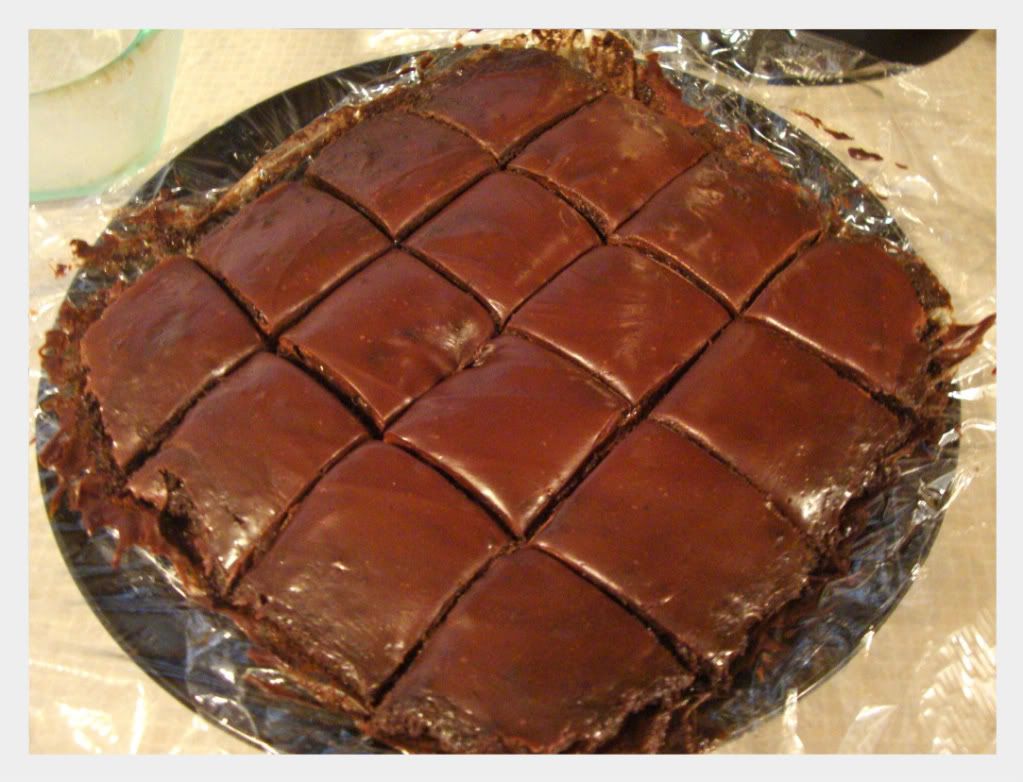
Pour your batter into the baking dish and then spread the reserved chocolate sauce on top.  I thought it was just going to blend all together but the sauce actually stayed on top as I spread it around.  Again, if you are using coconut and peanuts, you would sprinkle the rest on top now.

Pop it in the fridge for 2 hours and then slice.  Martha says to cut 24 brownies but I don't know how to get more than 16 out of a square pan.


These were really good.  Eat them cold from the fridge and it is much more like fudge.  Let them come to room temperature or microwave them and it is ooey, gooey goodness.  If only I had had vanilla ice cream, I think that would have been the perfect combo.

Photobucket

Monday, August 16, 2010

Leather Flowers

I've always enjoyed ripping apart my clothing and turning it into something new. Usually I do this to t-shirts, but this time it was a pair of shoes that starting calling my name.

I bought a pair of baby phat shoes last fall that looked really cute in the ads. They were OK in person, but they seriously hurt my feet - I think I wore them a total of three times. They are covered in leather fringe petals, hmm petals , so.... I cut them all off.

Here is the before and after:


aren't the petals fab?

Ok, so petals.. you must know that I am going to make flowers!!!

I started by roughly cutting a circle from an old t-shirt and gathered up all my petals:


Then I starting hot gluing them in a circle.  The pattern on the shoes was silver, copper, silver, platinum; so I followed the same.


Once I got to the third layer, I began overlapping the petals.


Then I finished it off with some prima heart bling for the center.


I had a ton of petals left, so I made three more flowers using each color on it's own:


The platinum flower got a light pink bling center that I adhered with both hot glue and stickles.


The copper flower got a pearl center - the bead came from an old necklace.


The silver flower also got a pearl center from the same necklace.

I glued a brooch pin onto the back of each flower - I think they will look awesome on a fall coat.

Photobucket

Sunday, August 15, 2010

Teen Mini Albums

Since I discovered mini-albums a few months ago I have totally fallen in love.  I'm sure a lot of scrappers have events that they make minis for, but I have the desire to make a mini and then I have to find a reason to make it.

Here are three that I made recently and how I came about them.  Each one is going to my teenage sister and cousins.

Back in December I bought some paper grab bags at Big Lots.  I fell in love with one sheet of paper, DCWV's Sweet Fruity Glitter, but I didn't know how to use it then.  I wanted to make a paper bag mini and I had some pink, green and blue bags I bought years ago.  Ta-Da.  The paper is pink and green, I have pink and green bags, I LOVE pink and green - a theme is born!!


So here is the cover.  The little tropical pineapple is from the Sweet Fruity Glitter.  I cut up all the little images to use as embellishments throughout the album.  The background paper is DCWV Lady Bug Stripe.  I got the chip alphas in the Target $pot.  These are my first attempt at embossing, using glitter and UTEE together.


On the left, I took a cute card I received, rounded the corners and covered the note inside with paper.  Now there is a fun photo mat.  The right side is Lilly wrapping paper scraps with a prima flower and bling center.


I made a bunch of tags and photo mats to fill all the pockets, using a various DCWV papers I had.  They got embellished with the cutouts, some rub ons, bling and prima flowers.

Then came another paper bag mini, this time using pink and blue bags.  I received some papers from Prima's Signs of Spring collection, and I used those exclusively for the pages and tags.


How cute are those little birdies?  I glitter embossed the letters again and used prima flowers and bling in the corner.

I made a bunch of tags and photo mats again using the remnants of paper (and I still have 9x8 remnants of each sheet!)  These have prima moonbeam flowers and bling on them.

This last one is straight out of the Live with Prima crate kit that Marion Smith did.  I used the Peaches paper pad that came in the kit and followed the folding technique that Marion showed in her video.


Glitter embossed letters again with prima e-line flowers and bling.  I fell in love with those pandas - they just had to get top billing on the cover.


The pages are folded so that a photo can be tucked inside.  I used the prima moonbeams and kisses to embellish.


Here is what the other pages look like with more moonbeams.

I made all these earlier in the summer and fell into my lull before they were complete.  I finally finished these while I was working on my decoupage box.

Now I have one mini in progress and another that started and finished last night.

Photobucket

Monday, August 9, 2010

Decoupage Box

Hi, I'm Back!  I finally have  my appetite for crafting back and I've been on a roll.

OK. So ever since we got back from Vegas, I have been wanting to head back.  AND we keep getting offers from all the MGM|Mirage Hotels (this includes Aria and Bellagio) for free nights. I am just dying to get a trip out there planned, so I decided to start a Vegas fund to get the ball rolling.

If I'm going to be squirreling away spare change, I need a cute place to put it.  I used a box and letter H I received in a swap a few months ago, the Vanilla Cream paper form the Basic Grey Bittersweet collection, and a Prima trellis rose to make this:


I started out by painting all the edges of the box with metallic taupe paint:


The H was a silvery industrial color so I painted that metallic taupe, too. (this is the before)


I used one 12x12 piece (and I still have a big square leftover) to cut the 5 faces (bottom is bare).  I used Mod Podge to glue them all down.


After the first layer of mod podge dried, I used a nail file to sand all of the edges to be flush with the box and to distress it a bit.  I also touched up the paint in the areas where I sanded it off.  I added another layer to the whole box and when that was dry, I sanded over the whole box.  Then came my final third layer, with another sanding after it was dry.

To embellish the box I hot glued the H and flower on top.  The flower was white and I brushed glimmer mist and liquid pearls on the petals to make them pink and shimmery.


It is so pretty, I just love it!!

A tip for Vegas/AC/Indian Casinos:  sign up for the player cards!!  You earn points on these when you gamble, and depending on the place, you can redeem them for things like food and free play.  This is also how you receive offers for free rooms, show tickets, free plays, etc.  Also, when we checked out of the MGM, almost all of our room charges were comped -  and I charged every food, gift shop and entertainment item.

And now I need a tip from you!!  Mac users, what do you use to write and publish your posts?  Blogger is driving me nuts!!
Photobucket
Related Posts Plugin for WordPress, Blogger...