Sunday, July 29, 2012

A Pinterest Win!

Here is a little gem of a recipe I stumbled upon while browsing Pinterest.  It was right next to a pin telling me that no matter how slow I go, I'm lapping everyone on the couch (don't they realize when you are on Pinterest, your butt is most likely enjoying said couch?)

Anyway, No-Bake Cake Batter Truffles from Chef-in-Training.

I made these once a few months ago and the pin got upgraded from my "Yummies" board to my "Made it, <3'd It" board.

And when my hubin requested that I make a batch to take to his office, I happily obliged (I can't say no to that cute face).
  
So I made a batch of vanilla cake batter:

 these are mine and my hubins favorite

And I made a batch of chocolate (devil's food) cake batter, too!

these were the bigger hit at the office

All 100 bites were gone within a few hours (and both the treats and my hubin caught the attention of one of the higher ups ;)

The original recipe yields 24, but I make mine smaller, using a 1-inch cookie scoop, and I get around 48 per batch.

I love this recipe for a few reasons - simple to make, no oven required (which is such a plus in the summer), and they are a total crowd-pleaser.


I've received a request to try Red Velvet and to do it soon, so keep an eye out for those!


Have you tried any recipes from Pinterest?  Where they a success?


xx Heather

Thursday, July 26, 2012

After, Before... And After Again


It all started with this old project that I did over two years ago.  I fell in love with some art work in the Ballard catalog and decided to recreate it myself ( I saved almost $500, btw).  I've been getting a little tired of it recently and decided that since the colors wouldn't work with what I have planned for the new house, it would be fun to give it a makeover.


I've been a wee bit obsessed with chevrons for awhile now and it was time to act on it.  I started out by covering the entire canvas with some cheap white craft paint I had lying around.  One coat still had a lot of the old painting showing through.


I gave it two more coats with metallic pearl craft paint.  Still showing through, but not as bad.


The hardest part of this project by far was trying to get the chevron pattern laid out in painters tape.  This is failed attempt #1.


I think this is failed attempt #2.  I had the concept right, but I realized I needed to start measuring from the center and not the the ends.  You can see in both attempts that I used a scrap piece of tape to space out my lines evenly (which worked great).  Also, I used 2 inch wide tape.


After I finally got all my diagonals right, I very carefully starting removing the excess tape with a craft knife.  I'm very comfortable with a craft knife, so be careful when working with one - you need to use just the right amount of pressure to cut the tape but not the canvas.  And always use a fresh blade.


Once I started painting I was on a roll (and my hubby called me) so I was a bit distracted and forgot a photo.  But here she is and I just love her!  The canvas turned out exactly as I had pictured in my head and I am so happy with it.  I can still see some of the blue peeking through, but I'm hoping that people who don't know it is there don't really notice.


And now it is hanging back up over our bed until we move.  Not 100% sure were it will go in the new house, but I am leaning towards the hall/guest bathroom.

Supplies:
Old Canvas
Paint I had on hand
cheap white
Metallic Pearl by Folk Art
Metallic Taupe by Folk Art
brushes
painters tape

Total Cost = $6.29
( I was out of painter's tape)


Here is a sneak peak of another chevron project I have coming up.  I actually started on this one first, but it is much more time consuming.  Can you guess what it will be?

xx Heather 


Sunday, July 22, 2012

My First Craigslist Find

I was browsing Craigslist a few hours ago just for fun when I stumbled upon this: 


Ooh!!!! I love me some Moroccan tile influences.  And can you believe it is a solid wood, KING size headboard - for $80?!?!  There goes my no buying things for the new house rule - oops!


So after bugging my husband to make the 20-minute trip to get it and a few emails, we were on our way.


Isn't she a beauty?


So here she sits in our bedroom, wedged between my nightstand and lamp.  (please forgive the awful lighting)


She'll sit here until we move and I can get her into the garage for a makeover.  Not sure if I'll go with black to match our nightstands or white to give a nice contrast to the charcoal walls.  Either way, I'm thinking a paint with a metallic finish like Martha Stewart's Precious Metals line.  What do you think?


I can't wait til December :)

xx Heather 


Thursday, July 19, 2012

Approved!

Just a quick post to share that our mortgage loan was approved!!  Yay!!  I've got a big smile on my face and I'm doing a little happy dance.  Hope you are having a great day, too!
xx Heather

Wednesday, July 18, 2012

Let's Talk Paint

Paint has been one of the things on my mind the most concerning the new house.  The builder will be painting the whole house white with white trim.  White trim I like, white walls - I'm so over it!!


My husband and I decided that in the week (or two) between closing and actually moving in we are going to paint three areas of the house: Master Bedroom, including the two walk-in closets; both upstairs bathrooms; and the laundry room.


The two other bedrooms, hallway and living/dining room will be dealt with later.


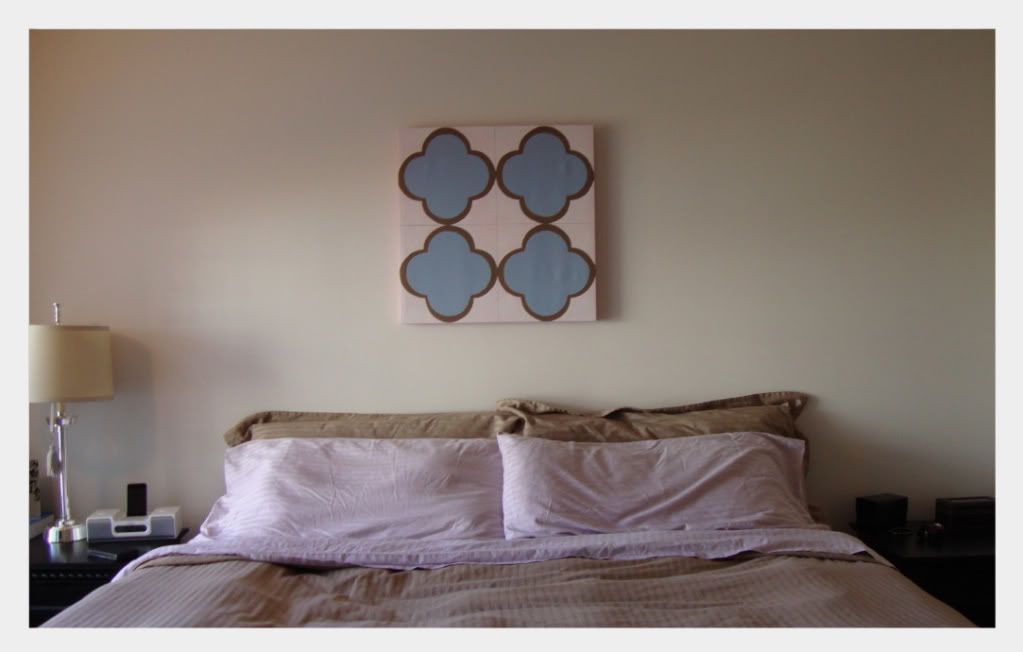
I've had it in my head for some time now that I wanted to paint our bedroom walls dark grey (gray?  can someone let me know which is right? k, thanks) and accent with pink.  I think it was a House Beautiful article that did it to me.


Here are some of the inspiration photos that I've pinned recently:


Pretty sure that we will be going with Zinc from Martha Stewart:

 
I like it because it is dark without being too dark and it works really well with our carpet selection.  The undertones are also spot on - not too cool or too brown.

The laundry room is another area that I've known what I wanted to do with for a long time.  A few years back when I first started nosing around home decor/DIY blogs I saw a bunch of laundry rooms get all prettified and my favorites were the ones done with turquoise paints and white cabinets.

I've got it down to two colors, Lagoon from Martha Stewart:


or Sweet Rhapsody from Behr:


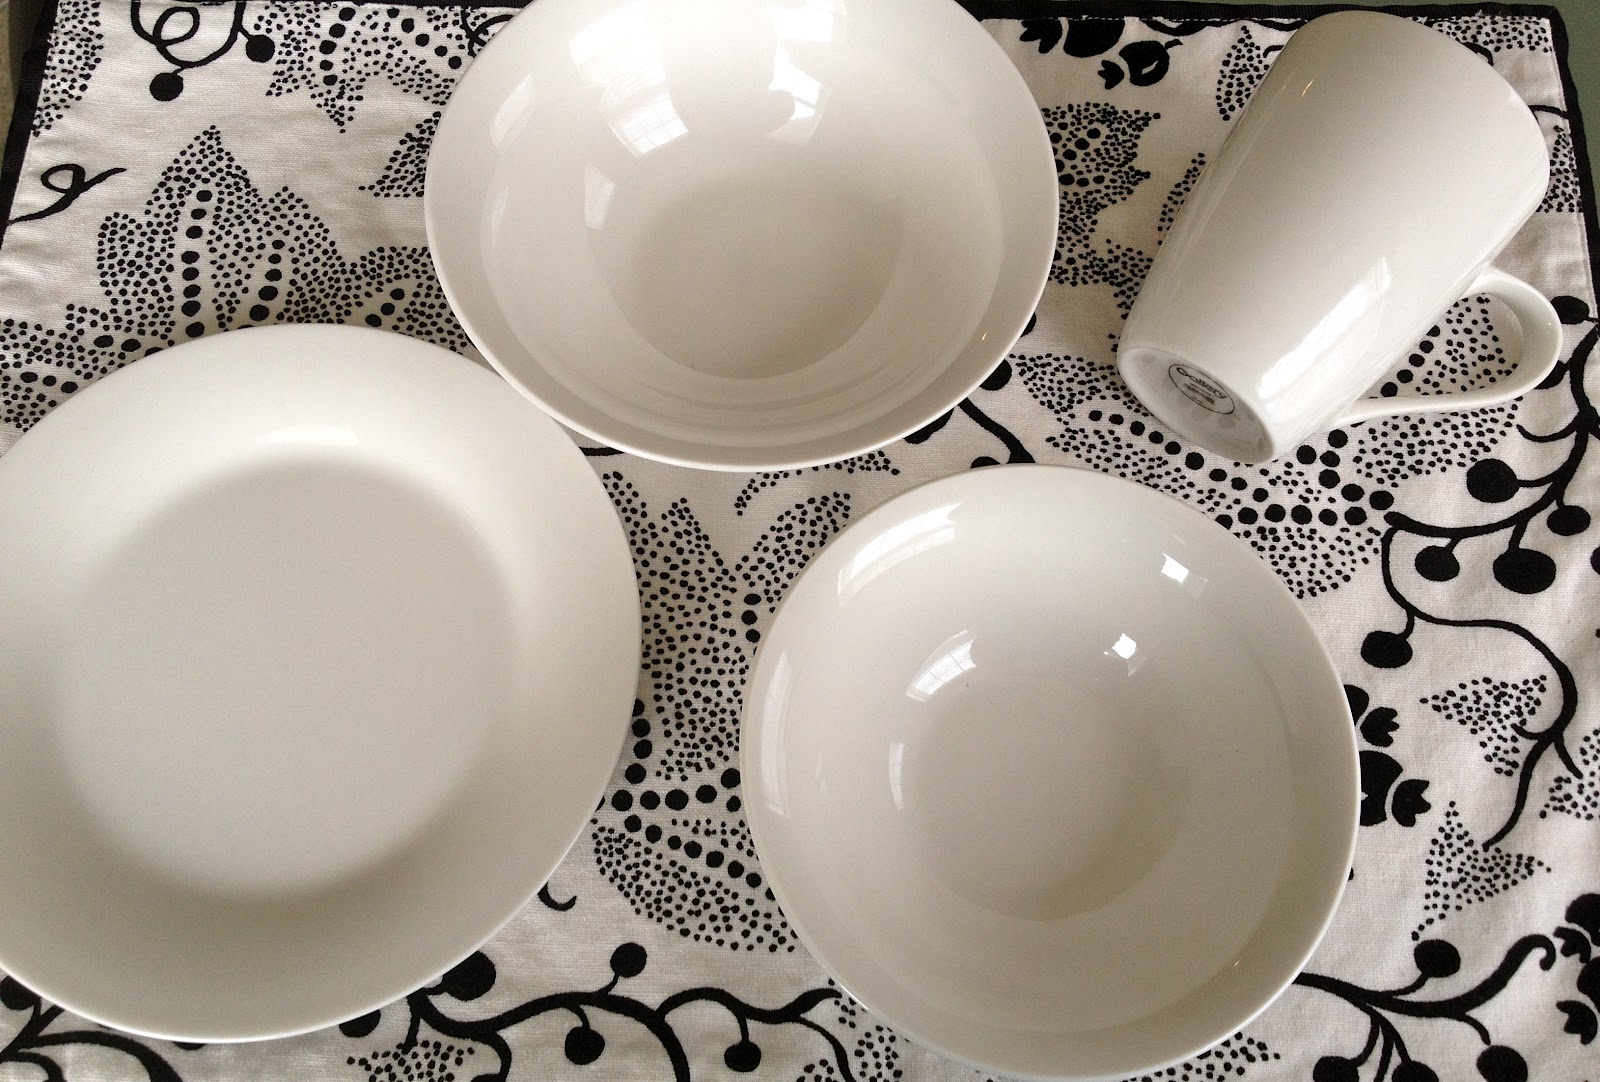
The last rooms that I am picking paints for are the two upstairs bathrooms.  They are getting the same tile and they will be getting the same paint.  I have four colors that I'm drawn to and they each pick up different shades that are in the mosaic tiles, remember these?


Natural Twine from Martha Stewart:


It is a perfect match to the dark glass tiles, but the room has no natural light and it is probably going to be too dark.

Buckwheat Flour from Martha Stewart:


Mushroom Bisque from Behr:


I like those two the best, but if after making large test boards they turn out to be too dark as well, I think this color will work great - Weathered Sandstone from Behr:


Now that I've got all my paint chips gathered and sorted, there won't be too much to do for a while.  Around the time of our Pre Dry-wall meeting I will buy the little $3 sample pots, paint some poster board and bring it out to the house to make my final selections.


Our Pre-construction meeting is coming up on July 30th!!!!  Construction will be underway by the end of that week :)


xx Heather

Monday, July 16, 2012

Customize Your Automatic Soap Dispenser

Have you tried out these handy little kitchen gadgets?  The Lysol No-Touch Hand and Kitchen Soap Dispensers? 


I love how they just squirt out some soap for you, especially when my hands are all icky.  The hand soap is great, but the kitchen soap wasn't doing it for me.  The scent was fine, but it just didn't cut the grease and clean my pots and pans as well as what I had previously been buying (Dawn).


So I figured it was a worth a shot to see if I could refill the empty soap container with my own soap and it worked!!

Turn off the switch in the back, and then give your empty bottle a tug to remove it.


Carefully pry off the cap.  My husband used the flat head screwdriver from his swiss army knife.  Rinse out the remains of the old soap.


You can see where the plastic got a bit mangled:

Now just pop that cap back into place...


 Stick it back in the dispenser, and you are ready to go!


xx Heather

Home Stories A2Z

Friday, July 13, 2012

My Cheesecake Brownies

OK, so technically, these are Martha Stewart's Black-and-White Cheesecake Squares, but since I've probably made them more than her test kitchen, I've adopted them and renamed them Cheesecake Brownies, MY Cheesecake Brownies.  They are the most impressive thing I have ever made, everyone loves them and me when I make them, and they are the only brownie recipe I will ever need.  The lucky recipients of this batch are my husband's coworkers.  He started a new job recently and I always like to butter up his bosses and colleagues :)

You can get the recipe from the link above; here are some tips that will make people fall in love you.

Don't bother preheating the oven before you begin.  The batter needs to chill in the fridge for 30 min, so preheat once they have been in the fridge about 15 minutes.

This is the secret ingredient that my husband is NOT ALLOWED to tell anyone, but I'm sharing with you b.c this is what makes or breaks these brownies.

Hershey's Special Dark Cocoa Powder.  Not every store carries this, but it is so worth checking every store until you find it.

Don't forget to sift!  See all those crumbs left?  They stop the brownie from being silky smooth, just press them through with the back of a spoon.

Start creaming your butter and sugar on low, when it looks like this, take the speed to medium.


You are done when it looks like this.

Reserve about a cup of dough for the topping, cover it in cling wrap, and stick in the fridge.


Line your baking pan with parchment paper (not wax paper, they are NOT the same thing).  


Cut off a sheet large enough to leave overhang on the long sides (this will make is so easy to get the brownies out of the pan).


I like to use 4 binder clips to hold the paper in place.
Spray the paper with baking spray, I like to use the one with flour in it


Take those clips off before you put the pan in the oven! 

This is a good time to take your cream cheese and remaining egg out of the fridge to come to room temperature.  

Take the pan out of the oven when the edges are puffed, a crust has formed, but the majority of the brownie still wiggles.

I like to turn off the oven at this point. 

Let them cool while you make the cheesecake batter.  Then pour the cheesecake batter on top.  The puffed edges will stop the cheesecake from going all the way to the edge.


Heat the oven back up and dot the top of the cheesecake layer with the reserved brownie batter.  I like to use my cookie scoop, but a spoon or your hands works great, too.


When you are done baking, let them cool on a wire rack for about an hour.  Then stick them in the fridge for at least another hour, longer if you have the time.


When they are totally cool, lift the brownies out of the pan using the parchment paper and slice.  If you try to cut them warm, you will make a big mess.


If you ever need to win someone over, make them these brownies!

xx Heather

Thursday, July 12, 2012

No Shopping for the New House!

I must have reminded myself of that 89 times while I was in Home Goods.  I went in to get some small bowls, but couldn't resist looking around.  Check out some of the great stuff I found:


I LOVE this mirror - so blingy and girly and fun!  It didn't have a price tag though :(


I would love to have a chair like this in our bedroom.  It is $399.


Cute frame - more bling :)  Great price @ $5.99!


This is not something I would buy, but it was so stunning and original, I had to take a picture.  It is about 2 ft. in diameter and inside there were some places to set tealights.  $249.


I prefer body wash, but gotta love a soap with my name on it ;)


These were in with the drinking glasses, but I thought it would be so cute as a candle holder.  Another steal at $3.99. 


I did treat myself to something I have been wanting for a looong time:  white dishes.

Our old set was black and I hated them.  It took me awhile to actually buy a set b.c I really wanted to have those shallow salad bowls and so far I had only seen them in very pricey sets.  I was so excited when I saw this box, that I had to swap my hand basket for a cart:


Here is the dinner plate and salad bowl (the rest of the set doesn't stack on each other well):


And everything else, including the little bowls I had gone in for:


Each box was $29 for 4 place settings, so I got 2 boxes. 


I'm so glad I finally got to check these dishes off my wishlist.


xx Heather
Related Posts Plugin for WordPress, Blogger...