Tuesday, March 23, 2010

Sneak Peek in My Bag

I'm off to Denver today to visit my Aunt and her family and I thought it would be fun to share what I'm taking in my carry on! I haven't taken a flight that was longer than 2 hours since I was a kid so I am a little nervous about how I'll handle a four hour flight! Thank god it is non-stop.

Photobucket

I found this bag right before my holiday travels started this year at target for like $12. It is a great size and it has lots of compartments for all my stuff.

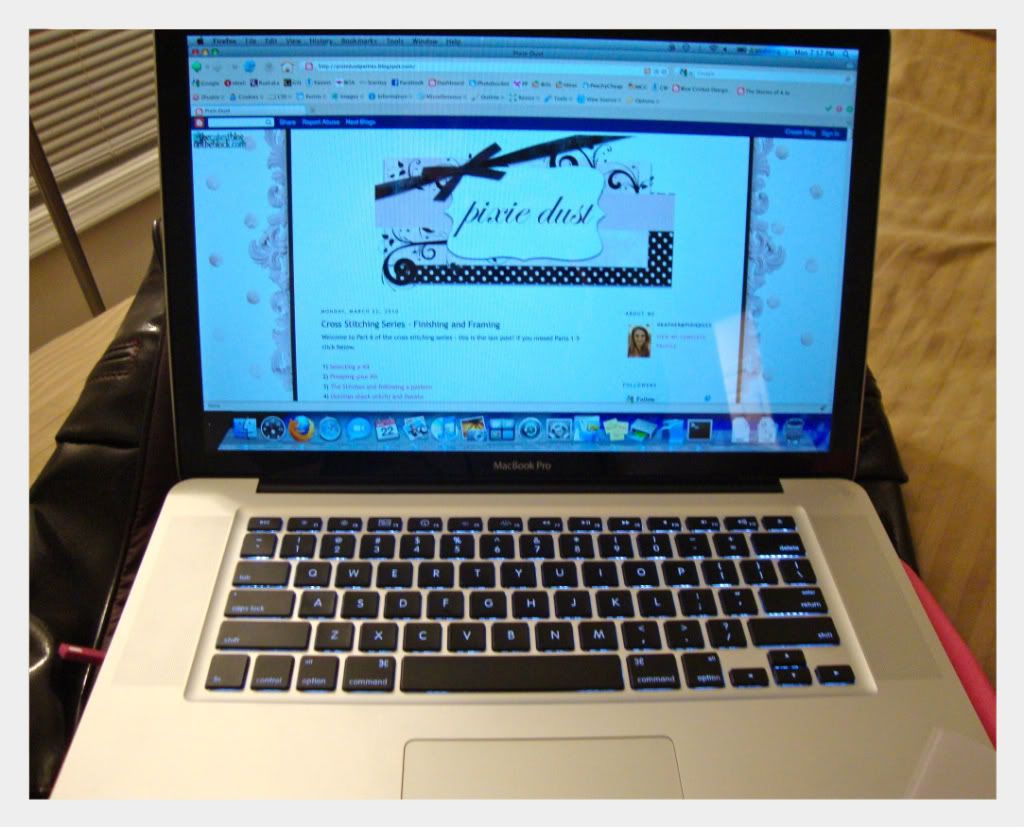
Inside I have my travel itinerary and most importantly my laptop:
Photobucket

I rented The Blind Side on iTunes to watch on the plane and I'm debating between Precious, Coco Before Chanel and The Private Lives of Pippa Lee for the return trip.

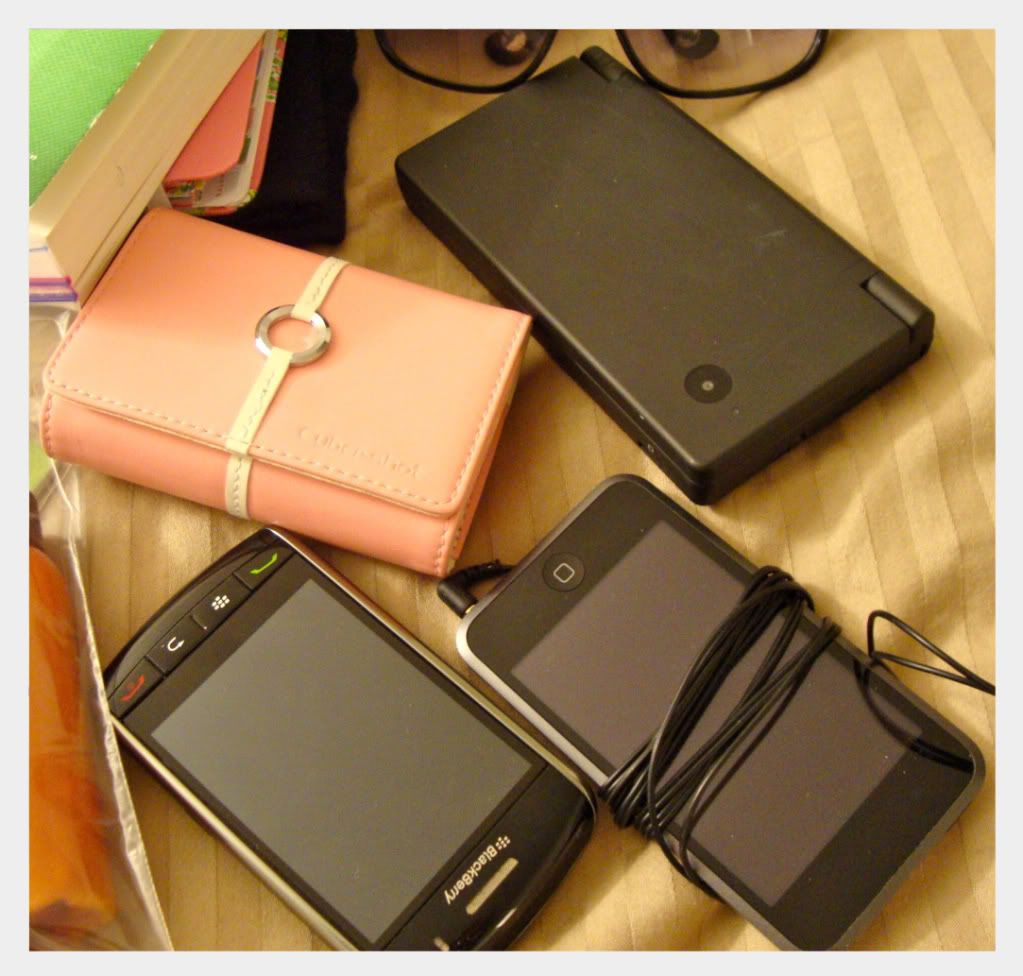
The other electronics I'm taking are my camera, phone, iPod and Nintendo DS.
Photobucket

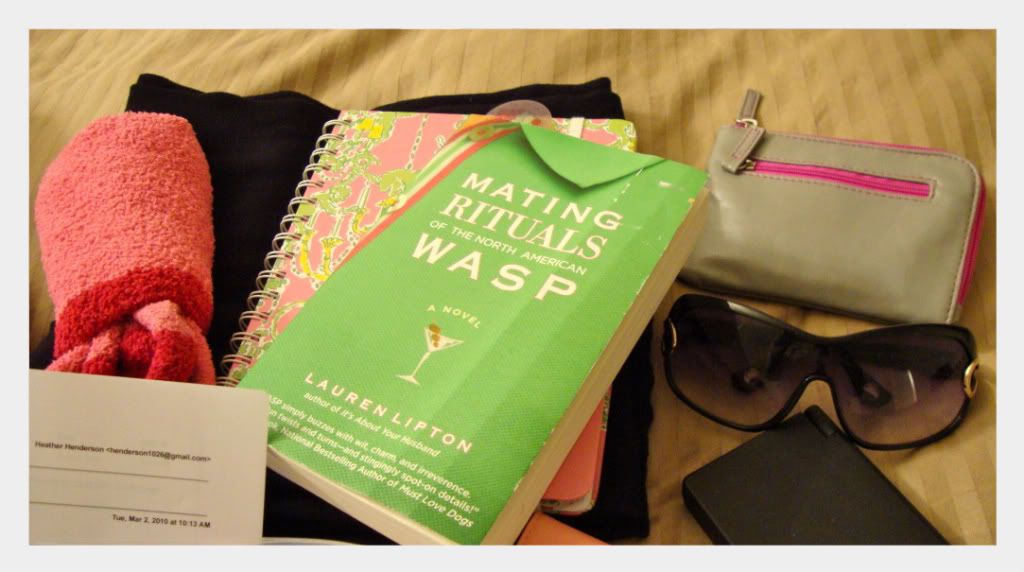
Then I have my creature comforts:
Photobucket
A mini blanket (it is actually a faux pashmina I got at the Charlotte airport for $10 years ago. I've washed it so many times it is all fuzzy and cozy), some fuzzy socks, my sunglasses (great for napping), my wallet, my Lilly planner and my book. I'm currently reading Mating Rituals of the North American WASP. I'm 1/3 through - it is a cute book so far based around a set of unusual circumstances and the hi-jinx that ensue.

Do you notice the absence of magazines? This is the first time I am traveling without any. I wanted to make my bag lighter and since I subscribe to so many blogs I know I'll have lots of reading everyday.

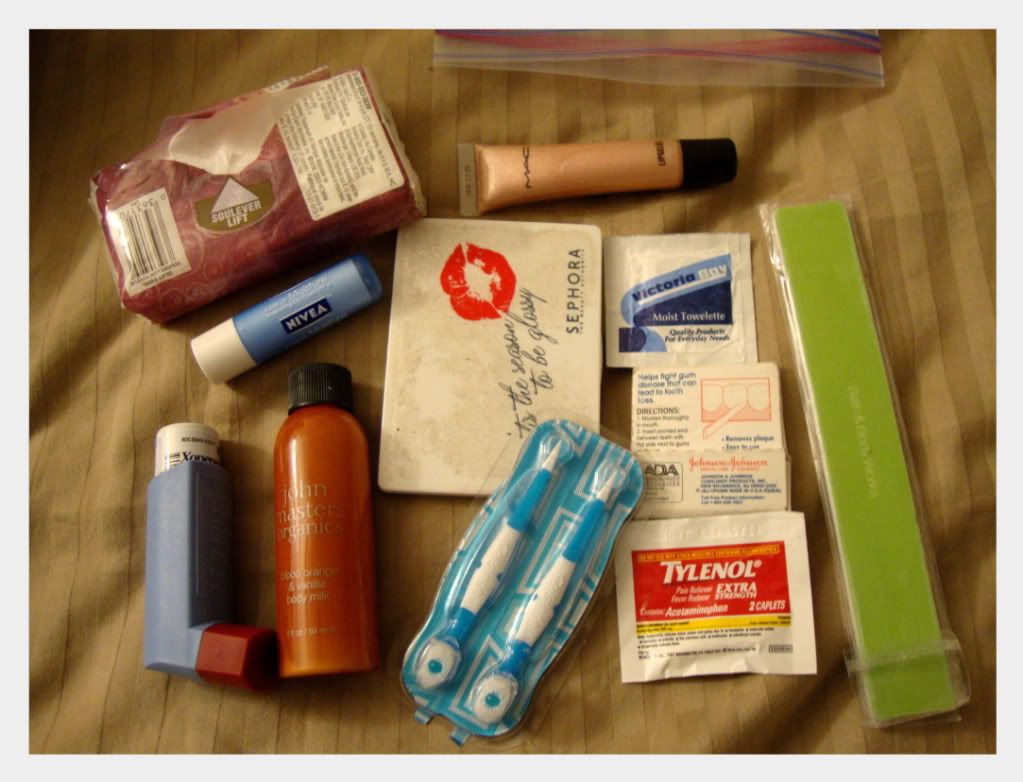
And finally, my make-up bag, transferred to a quart size ziploc.
Photobucket
tissues, lip balm, my inhaler (I have asthma and I never want to be without it!), John Masters Organics Blood Orange & Vanilla Lotion - this smells soooo good, MAC Resort Life Lip gelee, mirror, those wisp things (I haven't used these yet but my mouth always feels icky when I travel), a hand wipe, some toothpicks, tylenol, and a nail file.

I'll try to post once or twice from my trip, but my main focus is spending quality time with my cutie pie cousins, they are 3 1/2 and 15 months and I am going to eat them up!!
Photobucket

Monday, March 22, 2010

Cross Stitching Series - Finishing and Framing

Welcome to Part 6 of the cross stitching series - this is the last post! If you missed Parts 1-5 click below.

1) Selecting a Kit
2) Prepping your Kit
3) The Stitches and following a pattern
4) Outlines (back stitch) and Details
5) Personalizing a kit
6) Finishing and Framing

When I first wrote about cross-stitching, Kathy from Creative Home Expressions and I started talking about our love for it and all the projects we've done over the years.  She has done way more than I have and I knew that she had lots of great information to share.  I was so thrilled that she agreed to write a guest post!!  (esp. on a topic I could use some help myself!) Kathy, take it away...


Heather at Pixie Dust is doing a series on cross-stitch and I really enjoyed following along because I used to be a cross-stitch fiend.  You know how you stay up late to blog?  Well, I used to stay up late to do “just one more row” of cross-stitch!  Heather has graciously allowed me to participate in her series with a post on finishing and framing your cross-stitch piece.


As we go through the different ways you can finish your cross-stitch, I thought I’d share some of the many pieces that I’ve done over the years.


Probably the most popular way to finish off your cross-stitch is to frame it.  I always took my pieces to a professional framer to have it done right.  You can have the matting done so that it enhances the piece whether it is the color of the mat or the way it is cut.  Non-glare glass works really well on a framed cross-stitch as it doesn’t distort the way it looks.  If you are comfortable framing your own work ~ more power to you!


Another way to finish your work is by making a pillow.  This pillow covering came this way and I used a pattern from a cross-stitch magazine.


This little tiny baby pillow I made from a found pattern {very simple to do, too, if you need a gift for a shower or new baby gift in general}.  I put it together with a linen fabric and ribbon.  I used to sell these and would do them in pink, blue, mint green, and yellow.


Like the pillow cover above, you can buy Christmas stockings that are already finished off and you just need to add the cross-stitch pattern.  I bought these quilted stockings several years ago at Michael’s and cross-stitched my family’s names on them using an alphabet pattern that I adapted to fit the aida cloth part of the stocking.


I’ve also made switch plate covers and eyeglass cases.  I have even used dissolvable aida cloth to sew cross-stitch designs onto sweatshirts and t-shirts!


You can find some great kits that come with everything you need to do the cross-stitch and even include a way of finishing or framing.  If you look through some cross-stitch magazines you will come across some novel ways of finishing off your cross-stitch.  That’s what happened when I found this one and was able to order the mitten frame.  I put this one together myself. 
Here is a Teenage Mutant Ninja Turtles I did for my son back in the early 90’s when he was into them.


Many of my cross-stitch projects became gifts and there were such a variety.  I did baby blanket and pillow sets; bibs; framed pieces with shaped mats; glass cases; baby alphabet samplers; baby hooded bath towels and much more.


This is the last one I finished.  If you notice, the bottom is dated 2000.


I have a couple of others in various stages of completion.  I have a very cute Winnie the Pooh sampler that I will be finishing off for my daughter; all it needs is the personalization and framing.
The manner in which you finish off {or frame} your cross-stitch is limitless!   Have fun with it!


-------------------------------------------------------------------------------

Wow, those are some awesome tips!  The dissolvable aida cloth sounds so fun! I am going to have to keep an eye out for that.  I love the thought of finishing a design as a pillow and now I know to ask for non-glare glass if I ever go to a framer.  Thanks Kathy.


Hope you all enjoyed this series,
Photobucket

Sunday, March 21, 2010

Baking Challenge - March '10

As I mentioned last month, March is the kosher-for-passover Flourless Apple-Pecan Torte.

I thought it was kinda funny, but also pretty cool, that Martha was offering a kosher recipe.  I'm jewish on my father's side but I don't practice or do anything to celebrate the holidays.  Every year the holidays come and go and I feel guilty and sad that I do nothing to acknowledge them.  So it made me very happy to bake a little cake and give a nod to my heritage, even though I was a week early.  Passover begins March 29th.

Anywho, onto the recipe.

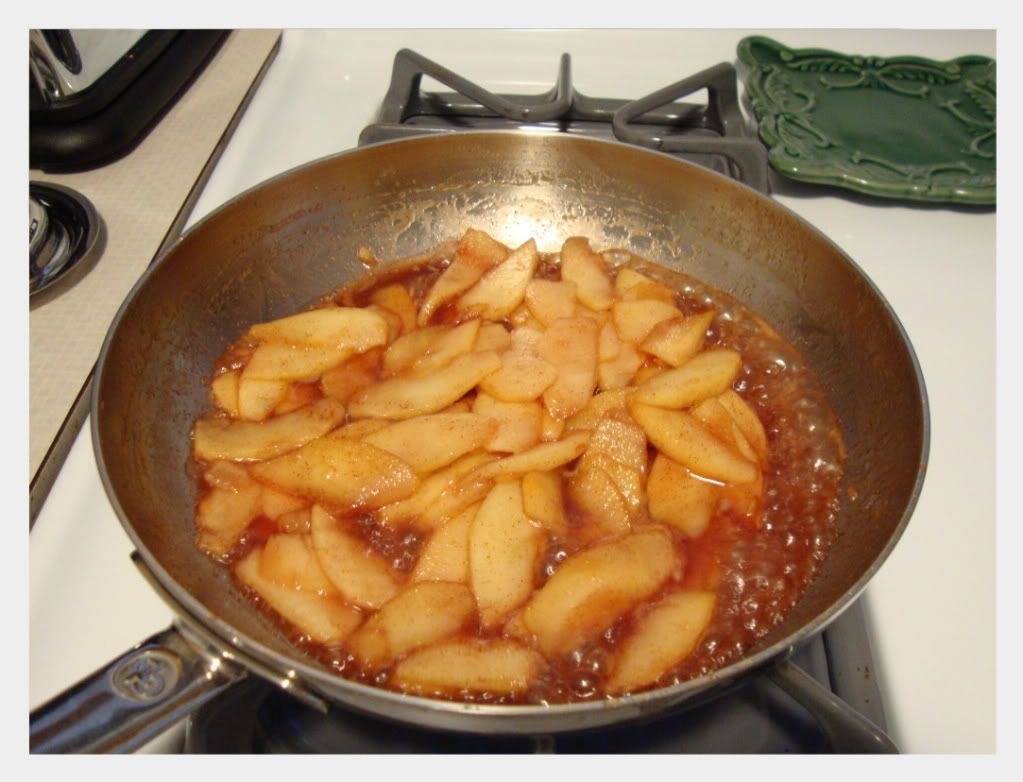
Start out by softening the apples with butter, cinnamon and sugar.  Yum! Do we even need to go further?
Photobucket

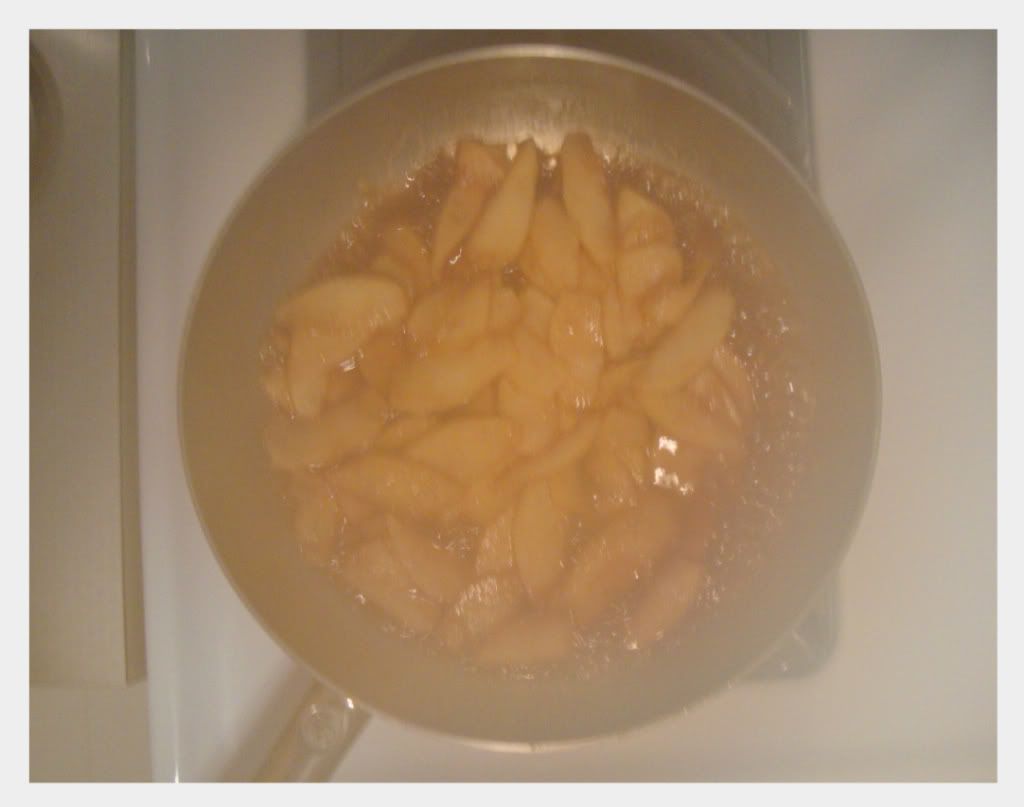
Add a little Manischewitz to make them syrupy.  Ahh, Manischewitz, what are Hannukah and Passover without you?  The very first time I got drunk was at Passover.  I was 16 and allowed to have one glass of wine.  My cousin and I were sitting away from our parents with a bottle of Manischewitz at our end of the table.  If you never let your glass get empty then its still one cup right?  Needless to say, we drained the bottle and I got groggy and fell asleep.  Ooh, check out that steam!
Photobucket

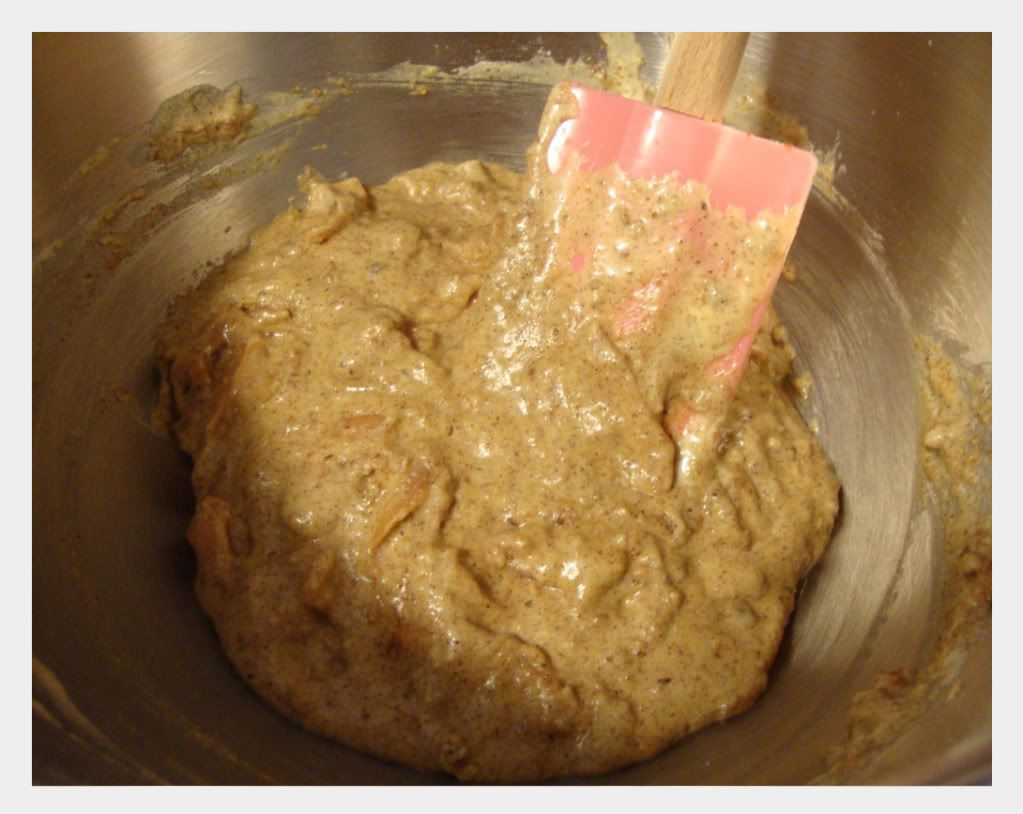
Here we have egg yolk, sugar, apples, ground pecan, matzo cake meal, and cinnamon.
Photobucket

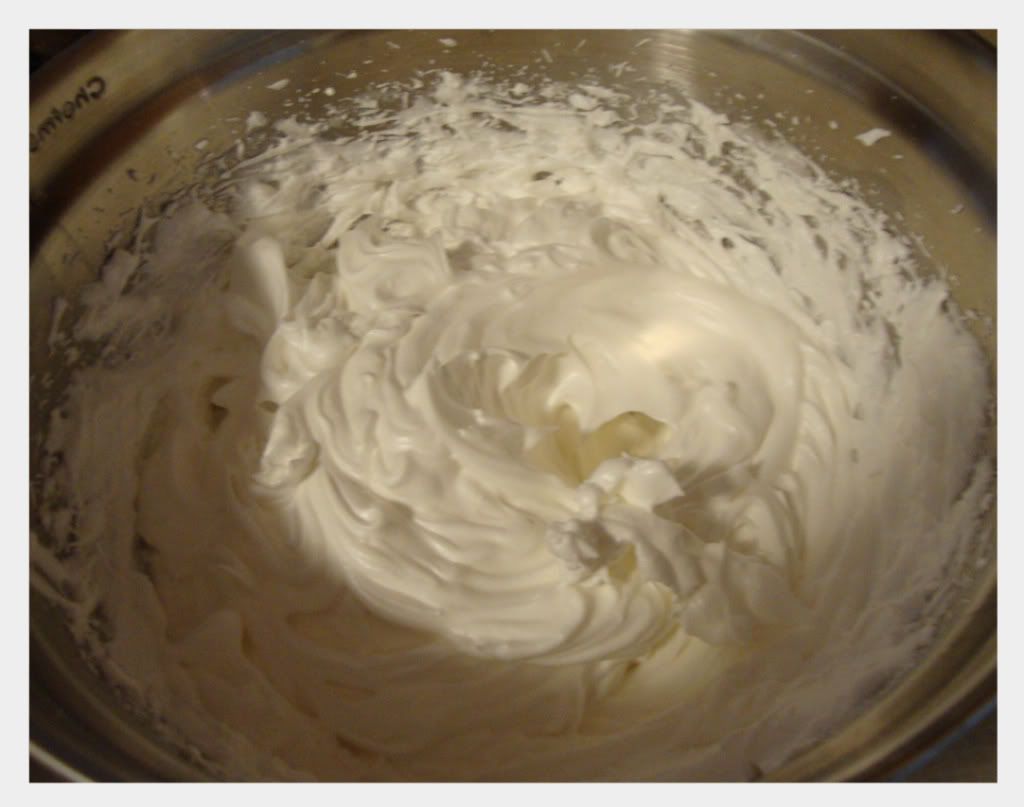
And here are my glossy and stiff eggwhites.
Photobucket

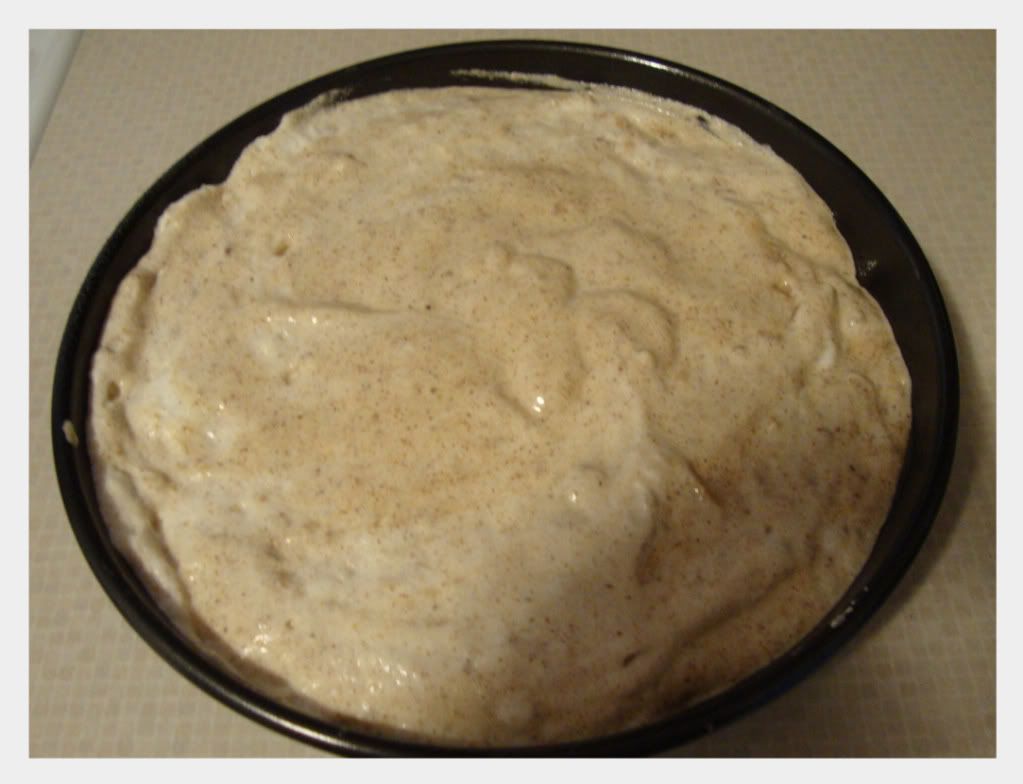
Gently folded together and into the greased pan.  The recipe calls for a springform but I don't have one so I just used a 9-inch cake pan.
Photobucket

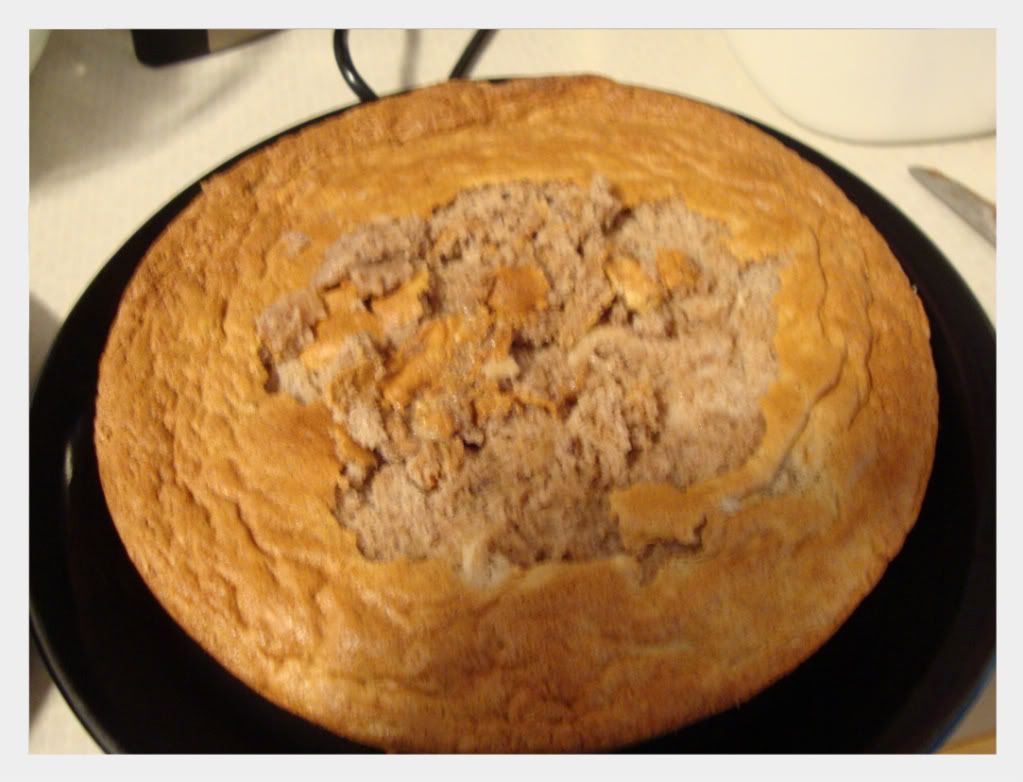
I should have let it cool more before I flipped it out because the top stuck a bit.
Photobucket

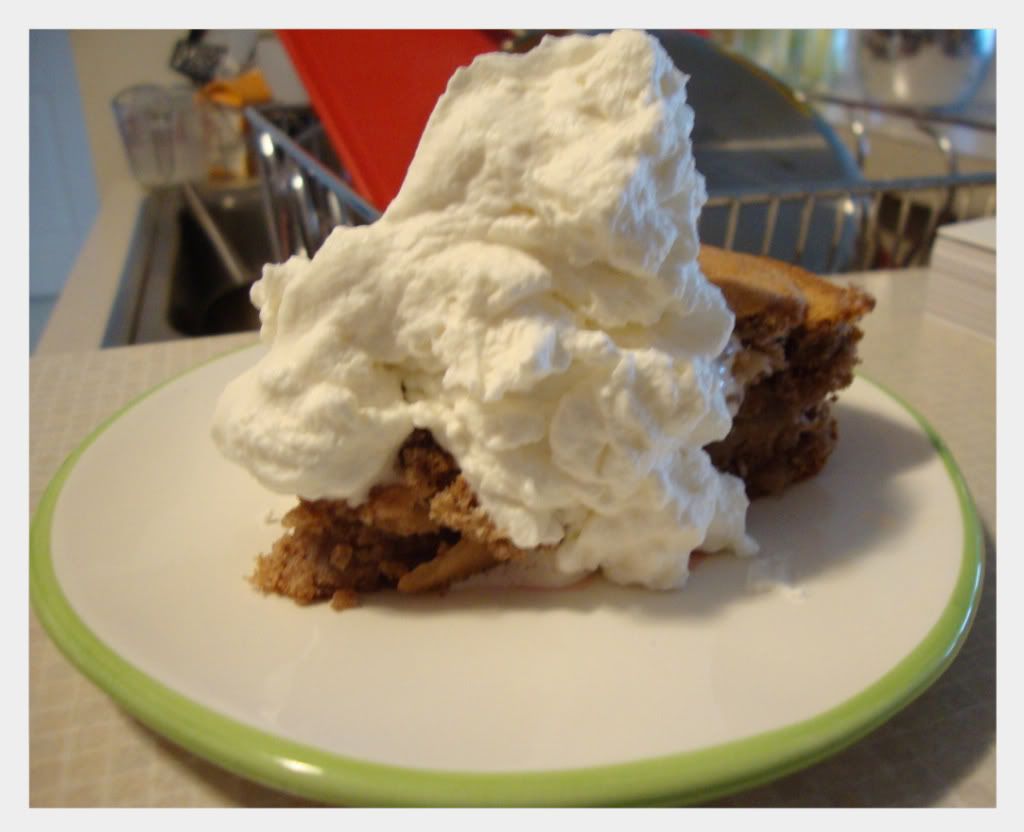
That's OK.  I'm not serving it to anyone, and if I was the powdered sugar would cover it up.  Except I was all out of powdered sugar.  So I made whipped cream instead.  I substituted granulated sugar and it came out just fine.
Photobucket

Next Month: Chess Tart.  A nilla wafer crust and brown sugar filling?  This is going to be a hit in my house!


Photobucket

Friday, March 19, 2010

Dressed Up Candles

I have this little cabinet and candle holder in my entryway and for about two months I have been trying to find five white candles for $1 each. It seemed the cheapest I was going to find was $2 a piece, so I picked up two three-packs at target.

These are my old candles:
Photobucket

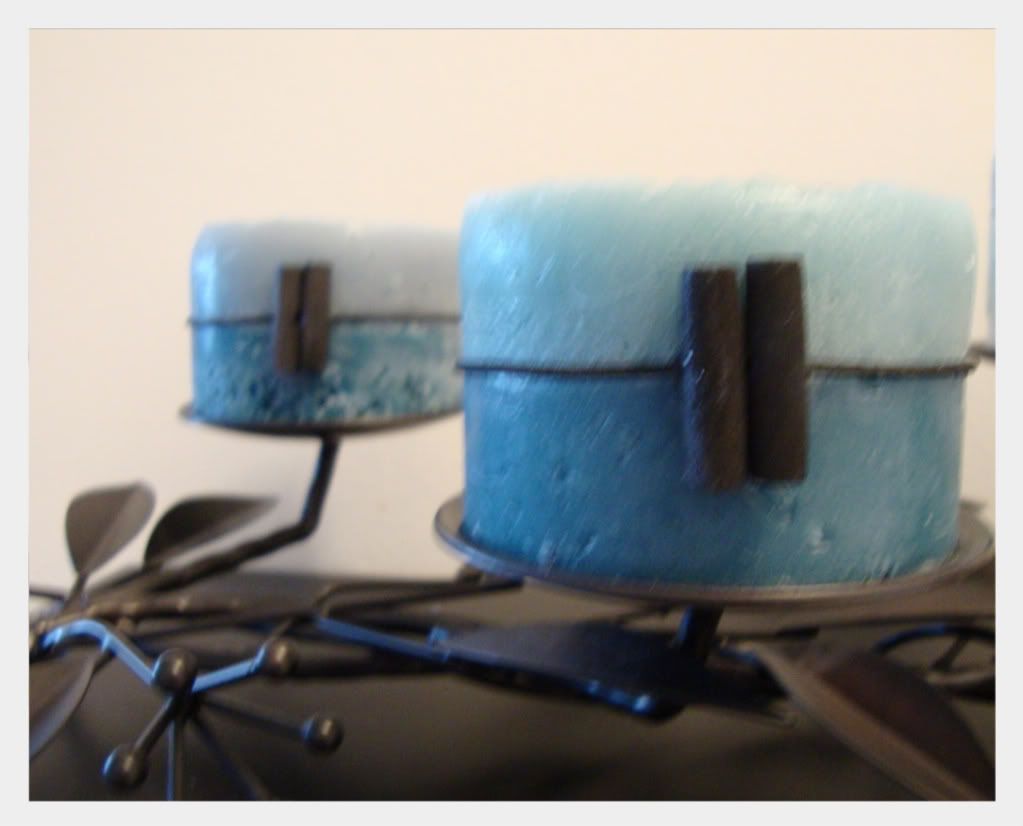
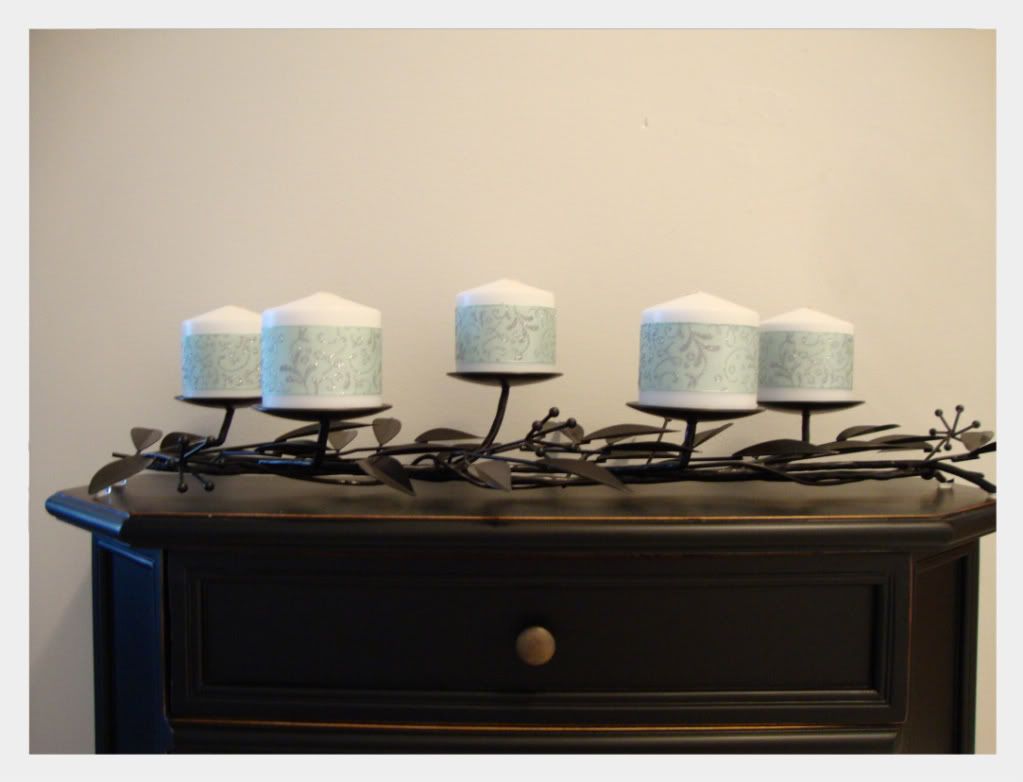
And with some little ribbon belts added, here are my new candles:
Photobucket

This was the easiest thing I've ever done. I cut 9 1/2 inches of ribbon per candle, and taped it at the back with double stick tape. I'd love to find some type of medallion to add to front.
Photobucket

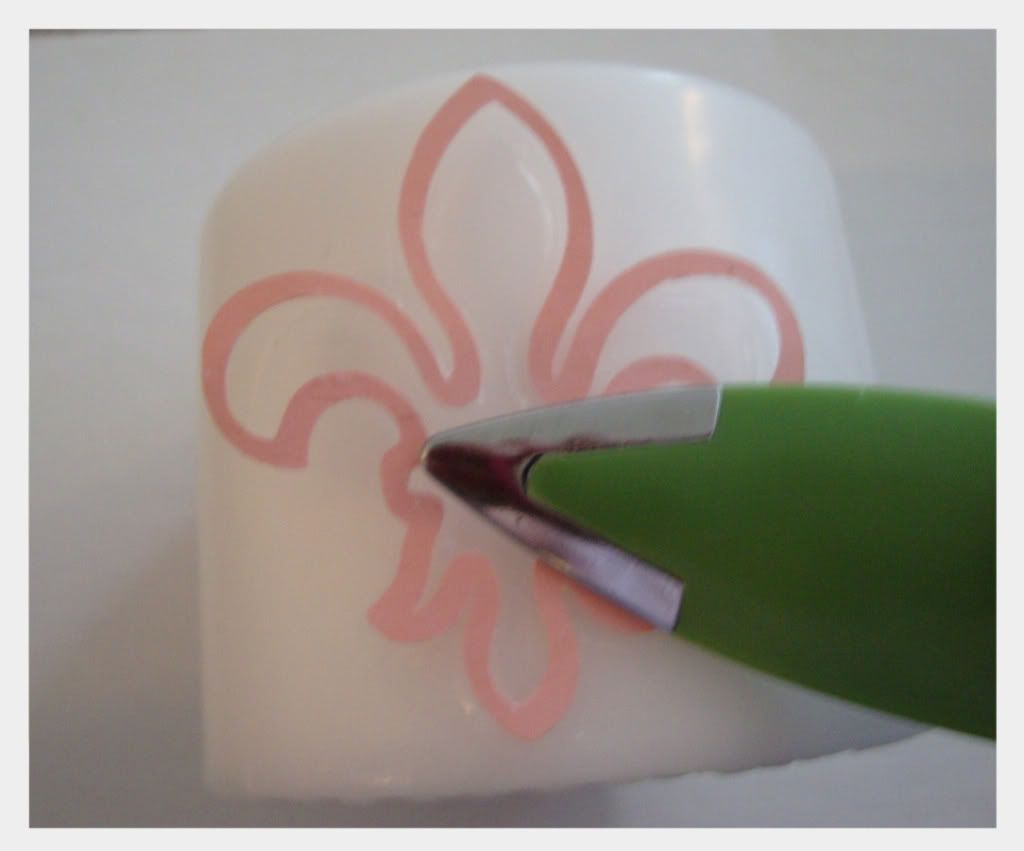
Since I bought them in three packs I had one leftover candle to play around with. A glittered fleur de lis perhaps? I took a fleur shape I had and pushed it onto the candle using my bone folder.
Photobucket

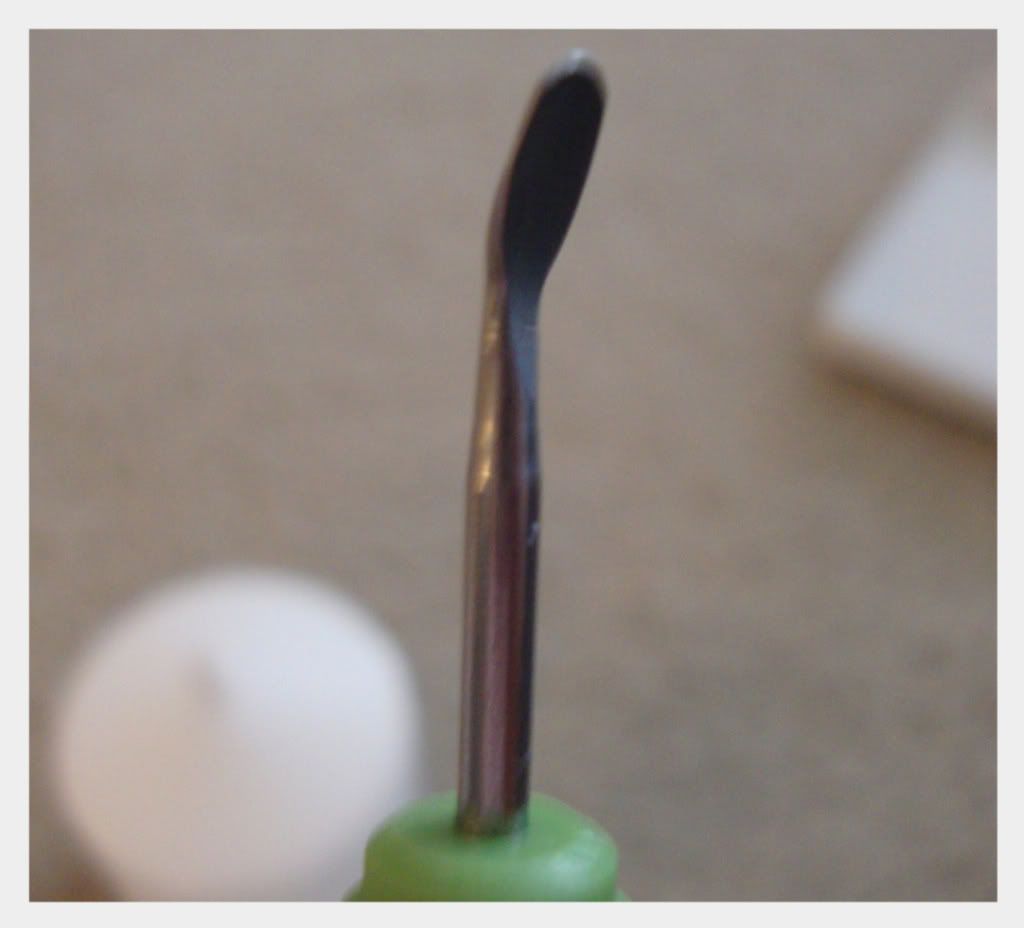
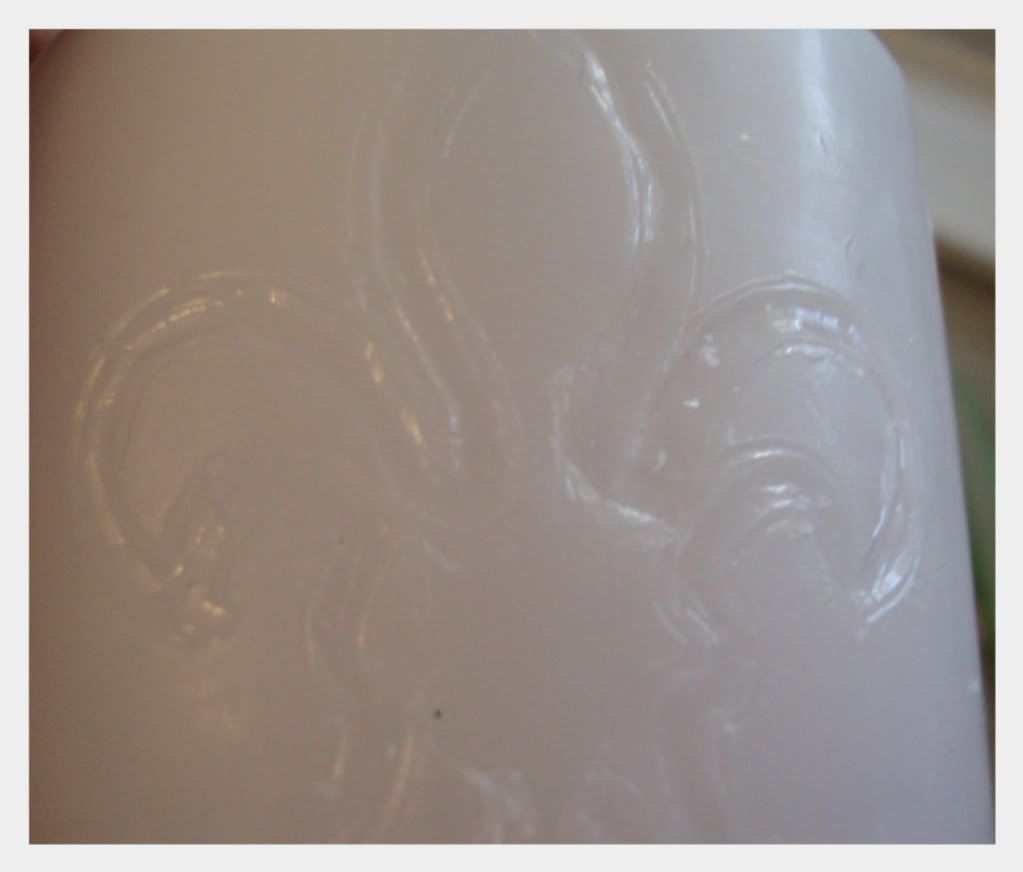
I scored around the outline with the tip of the bone folder and peeled off the pink shape. Then I used this tool from my cricut tool kit to dig out a bit of wax and make a well for the glue.
Photobucket

Photobucket

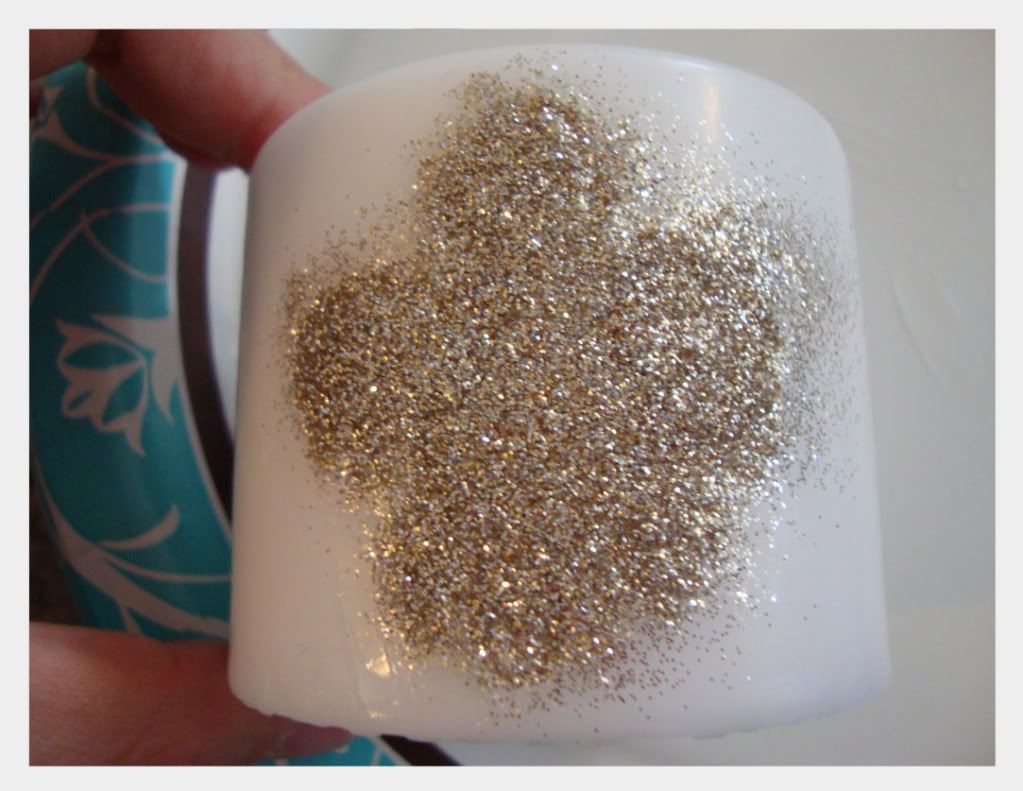
I added the glue and the glitter...
Photobucket

And it looked like crap!! It was all wonky and weird and bad.

But the little Tim Gunn angel on my shoulder told me to "Make It Work!"

So after some thinking, then some ignoring, then some thinking again,

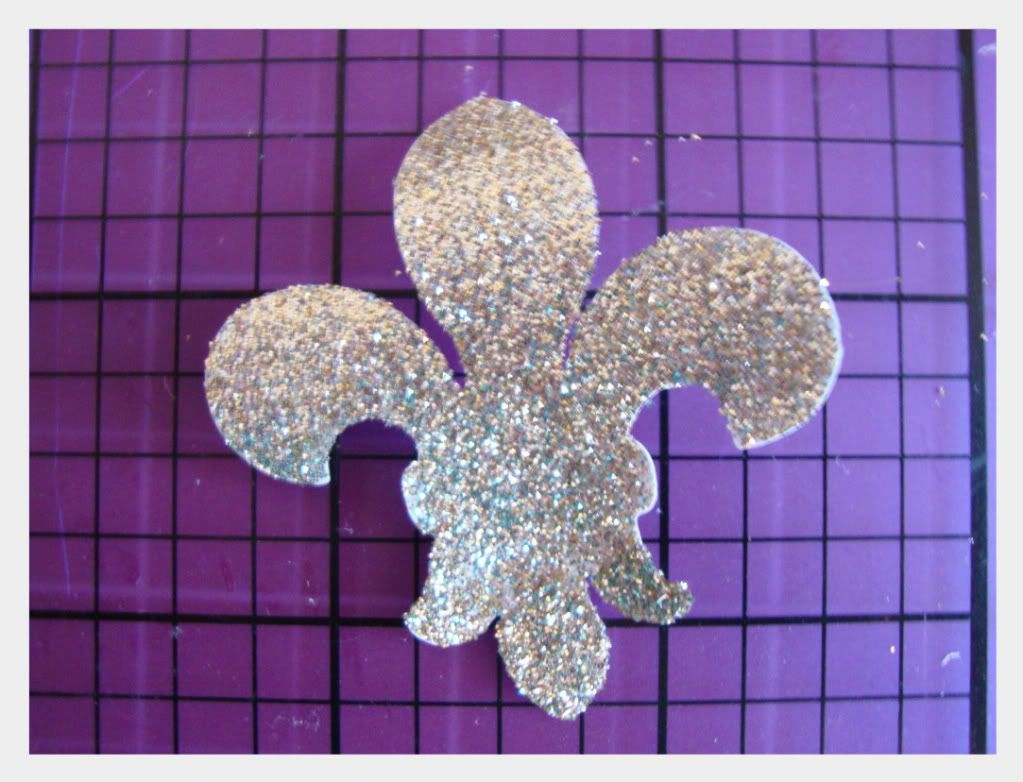
I cut out another fleur on the cricut and glittered that!
Photobucket

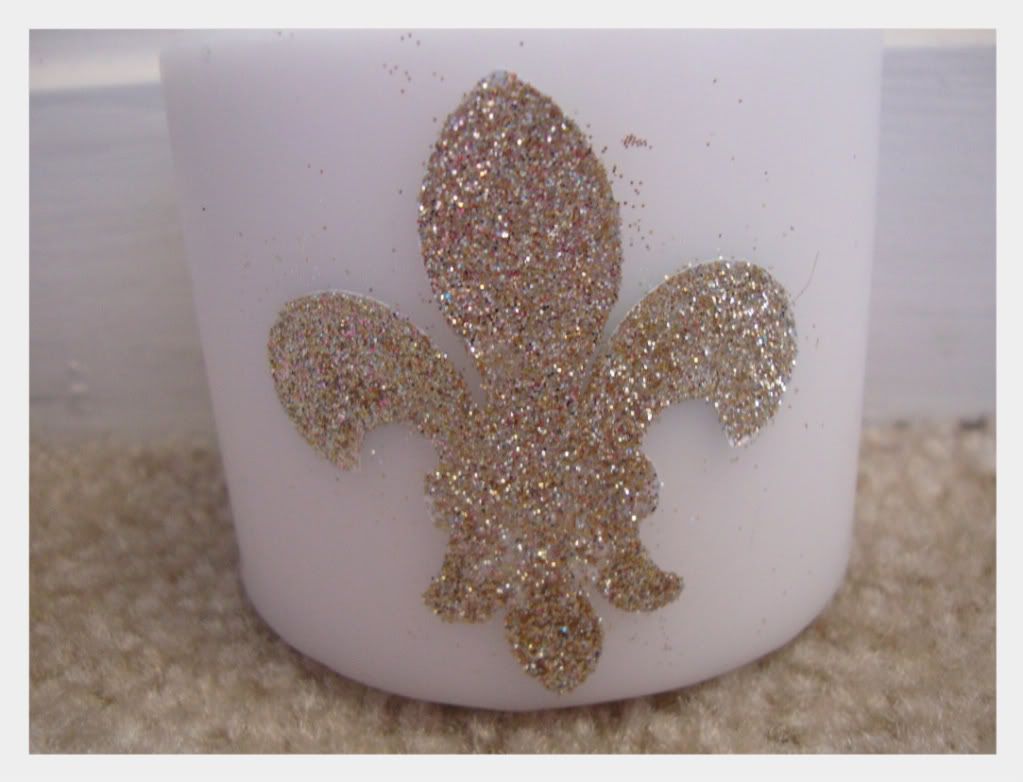
And glued it to the candle :)
Photobucket

Tim would be so proud. I give myself a pat on the back for that one.

And then I shoot myself in the foot for this one. I was at Home Goods yesterday and passed up on a candle holder. It was one of those pedestal kinds, it was a dark silver metallic with chandelier-like crystals draped all around. It was the only one left, in the clearance section for $10. I've thought about going back but who knows if it is even still there. Bah!
Photobucket

Thursday, March 18, 2010

My Shoes

Darling Beth at The Stories of A to Z has done it again - she is hosting her second "Virtual Sleepover".  Last time we showed our bare faces and our make-up, this time we are showing our shoes!


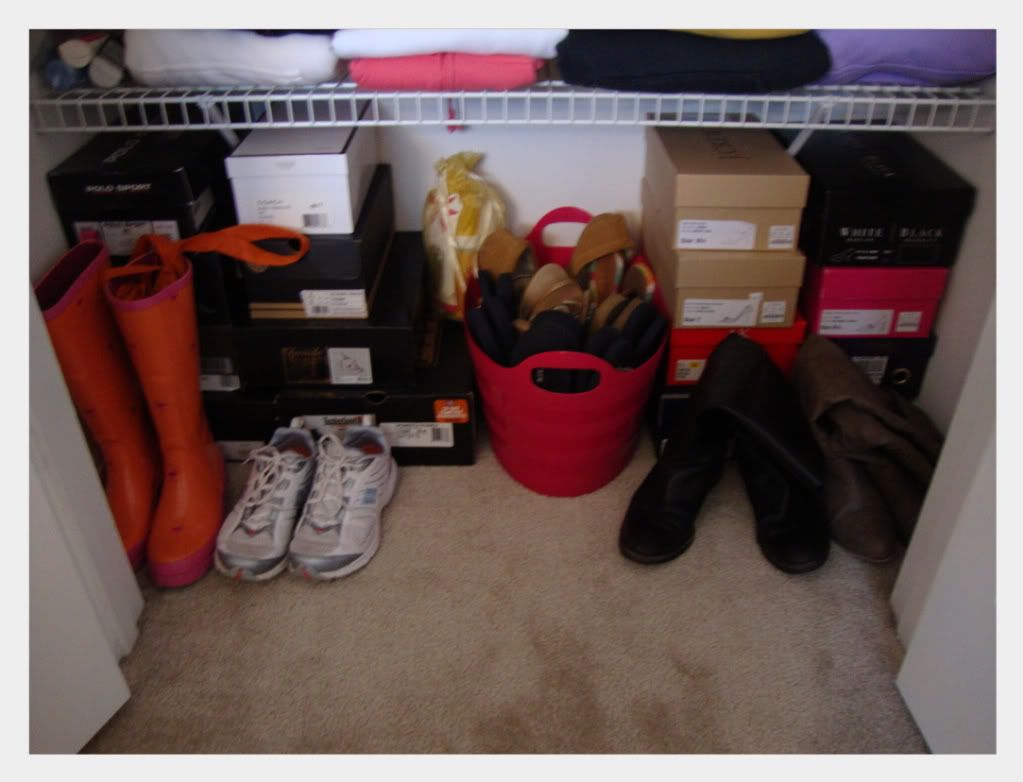
Here is a peek into my closet:
Photobucket

I keep my shoes on the floor.  Most of them are in the original boxes.  My boots and gym shoes are just hanging out and my flip flops are all in that pink bucket.

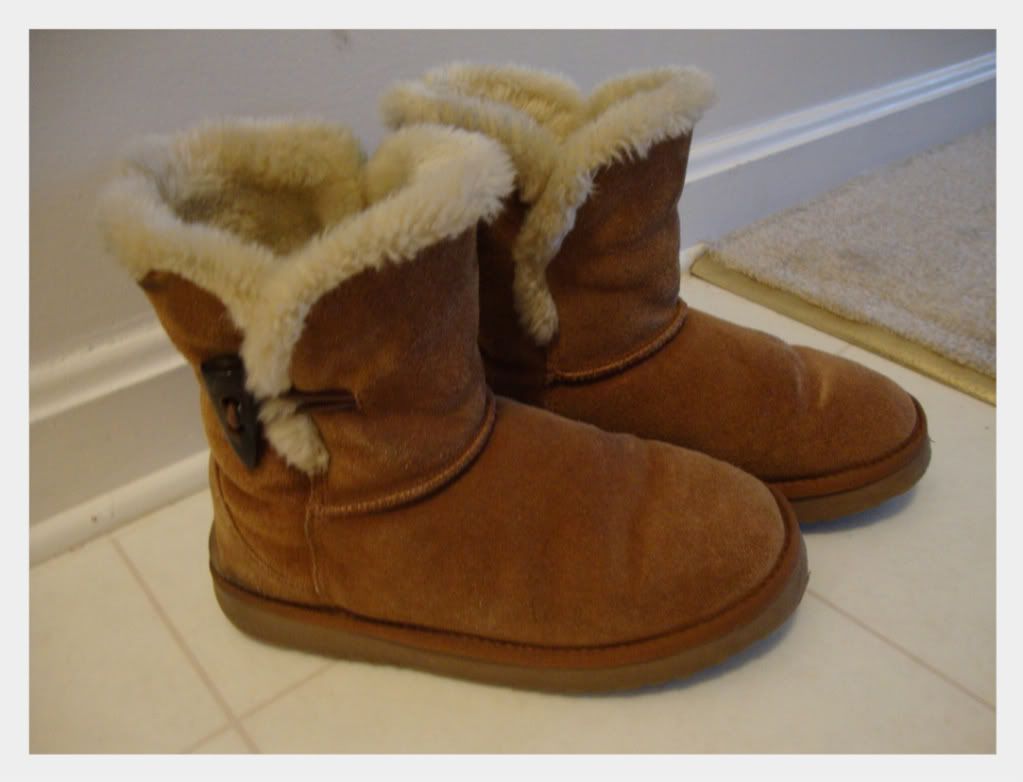
I wear these babies pretty much every day:
Photobucket

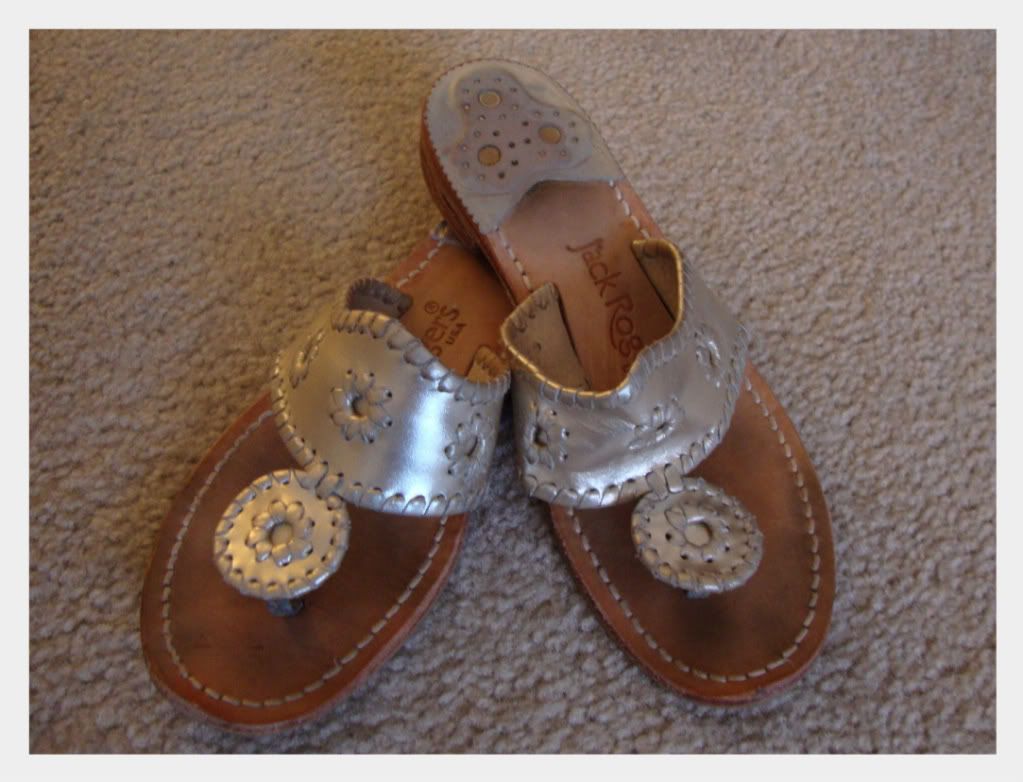
But there are some goodies lurking in my closet.  Like my favorite sandals:
Photobucket

They were expensive, but I wear them a lot (you can see all the nice toe marks and such) because they go with everything and they are really comfortable.

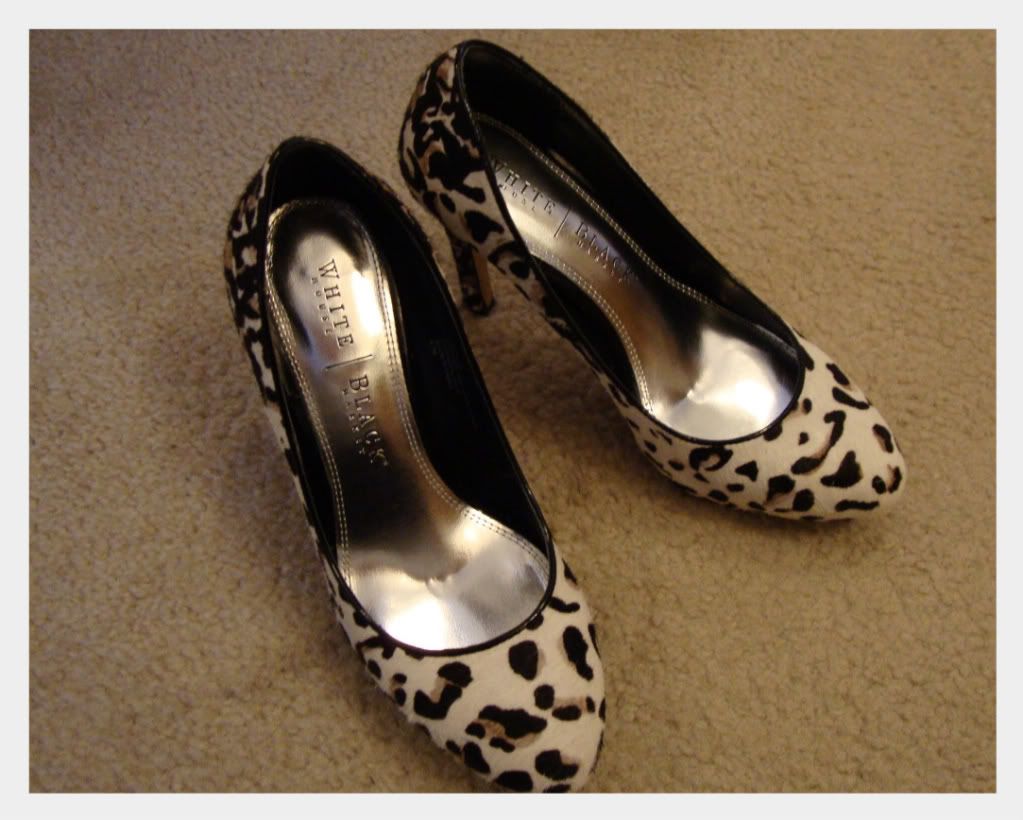
And these are my favorite heels right now:
Photobucket

The first and only time I wore them they gave me really, really bad  blisters.  They are super stiff and they were rubbing my heel.  I hope that I can wear them around the house enough before going to Vegas in two months.  I really want to wear these in the casino!

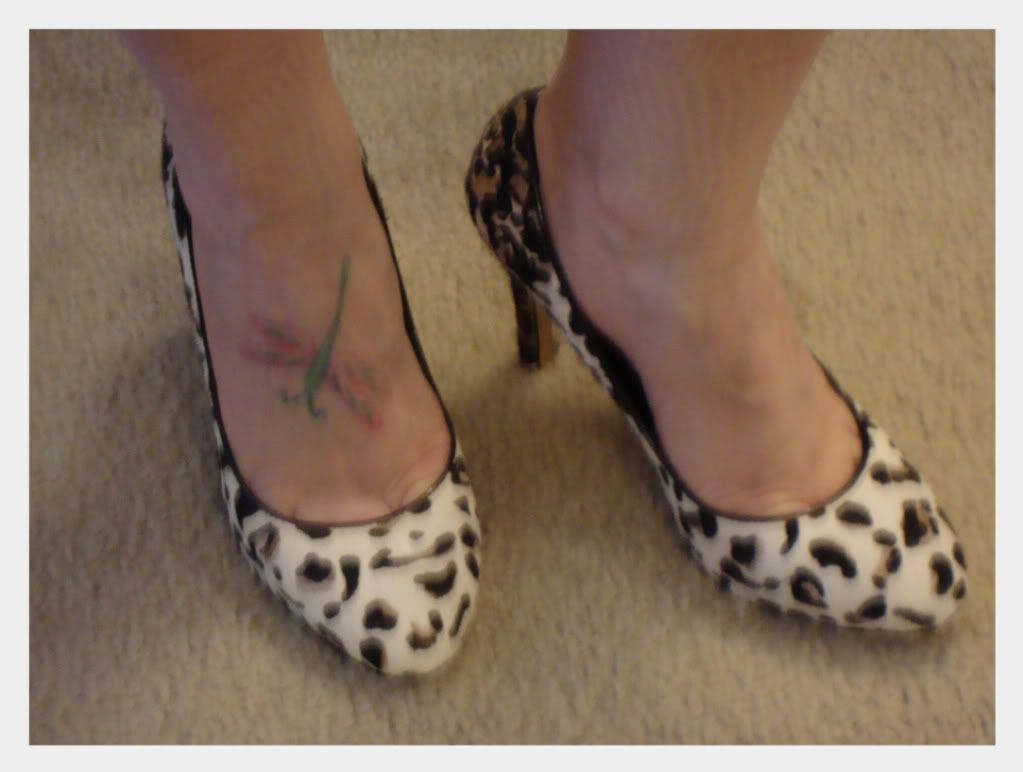
Photobucket

Yes, that is a real tattoo on my foot.  And yes, it hurt like a b*tch.  It's a pink and green dragonfly and it is one of four :)


Photobucket

Tuesday, March 16, 2010

Bee-utter Knife

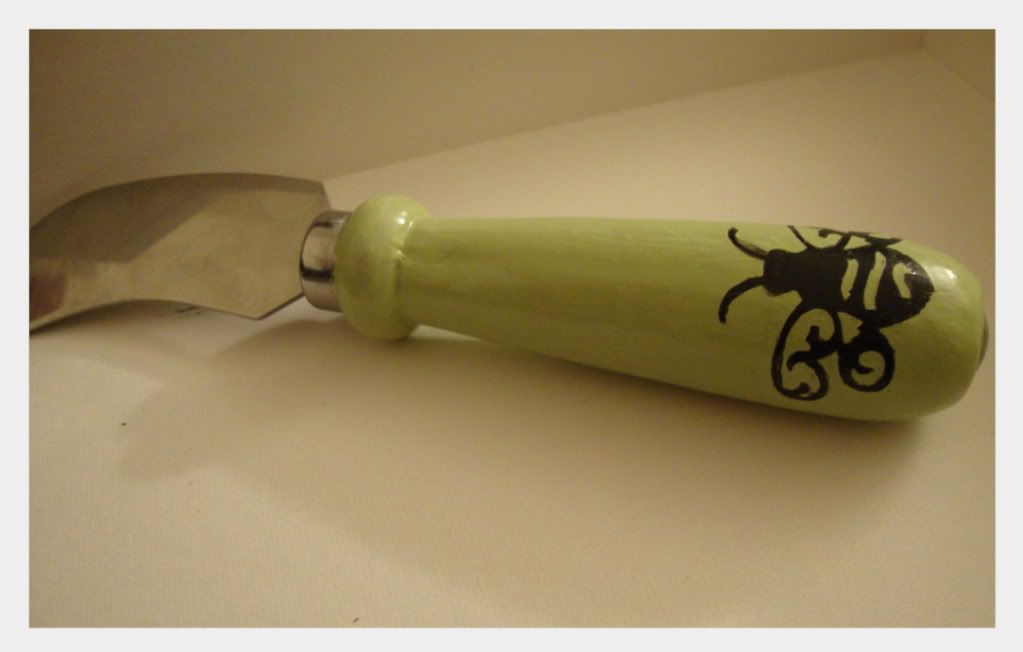
You know those wonderful harry and david corporate gift baskets?  The kind that get sent out to company's around the holidays.  Well back when I was still doing the 9-to-5 in December, I nabbed a butter/cheese knife from one of them.  It was free! and it was an ugly brick red.

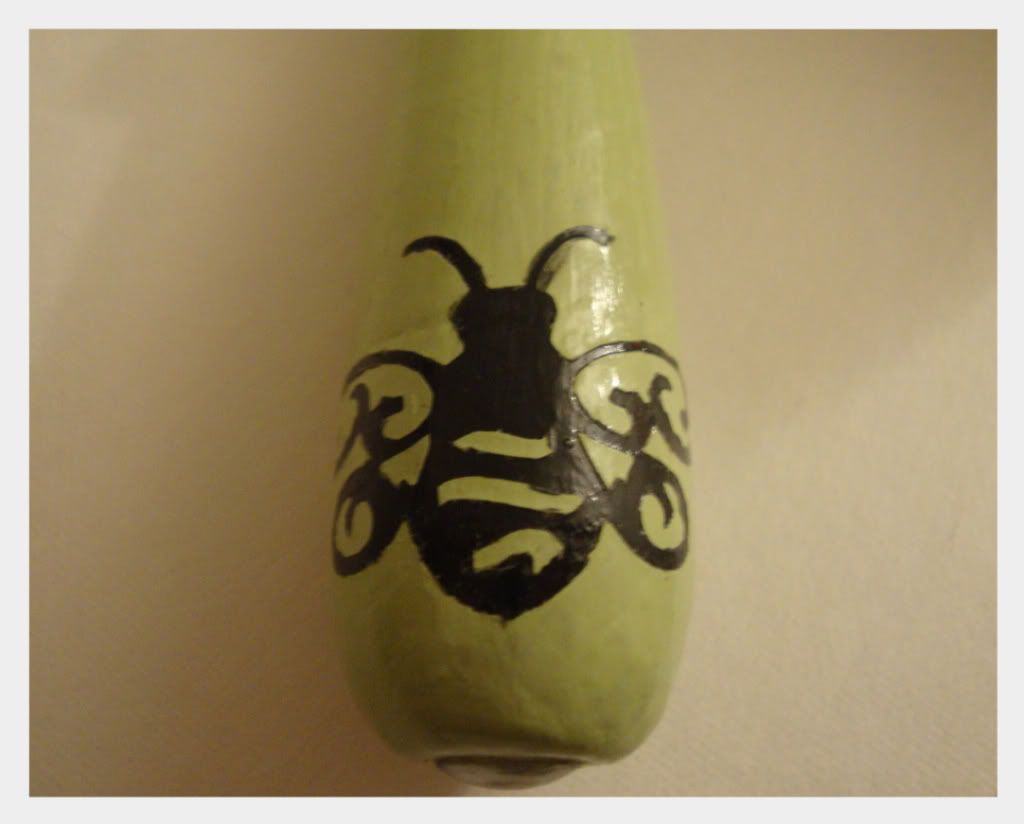
So with some charcoal and green tea paint and a stencil via contact paper and the cricut - I fixed it!
Photobucket

The little bee is so springy!
Photobucket

And for an amusing story - I was mistaken for a high-schooler today.  It is officially Field Trip to DC time.  I was waiting on a train platform this morning and there was a group of students behind me.  The teacher wanted to have everyone's attention so no one would get lost.  So you put her hand on my shoulder so I would turn around and pay attention.  I turned and sweetly told her that I wasn't her student but I understood because I was the shortest one!  She seemed a bit embarrassed (I was too!) but we all had a good laugh.

Photobucket

Monday, March 15, 2010

Cross Stitching Series - Personalizing

Welcome to Part 5 of the cross stitching series. If you missed Parts 1, 2, 3 or 4 click below.

1) Selecting a Kit
2) Prepping your Kit
3) The Stitches and following a pattern
4) Outlines (back stitch) and Details
5) Personalizing a kit
6) Finishing and Framing

I always like to add something to my kits to make them more special and personal.

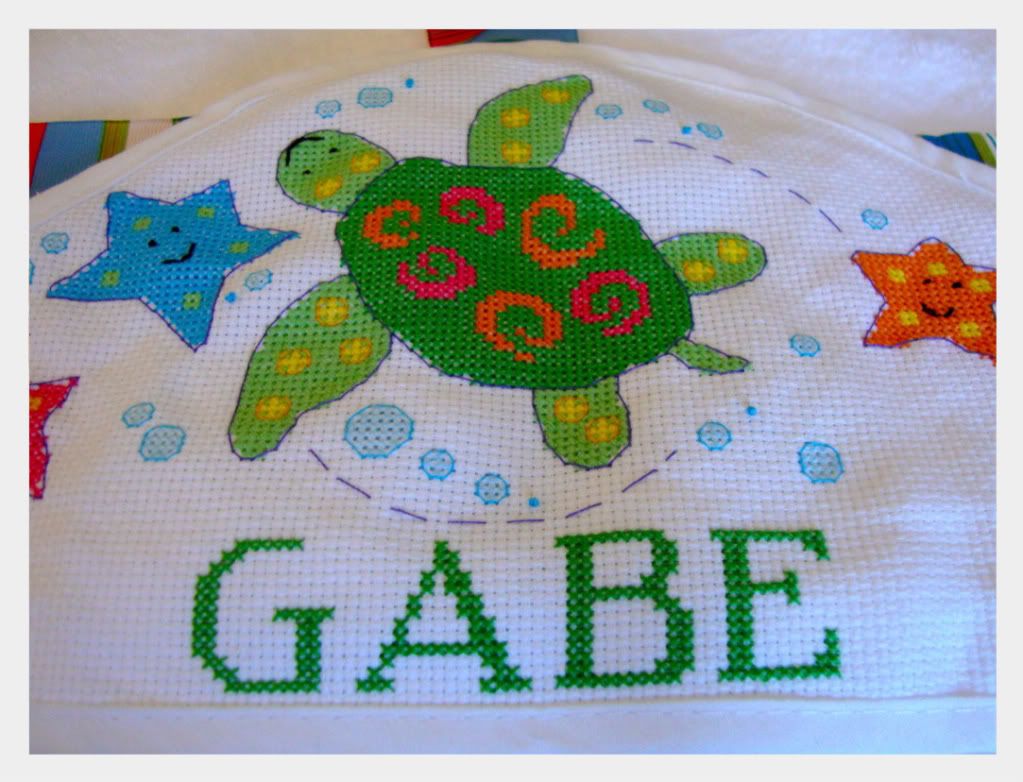
In order to make my turtle hooded towel extra special and cute, I stitched my cousin's name onto it.
Photobucket

I found an alphabet template from an old kit to make the letters.

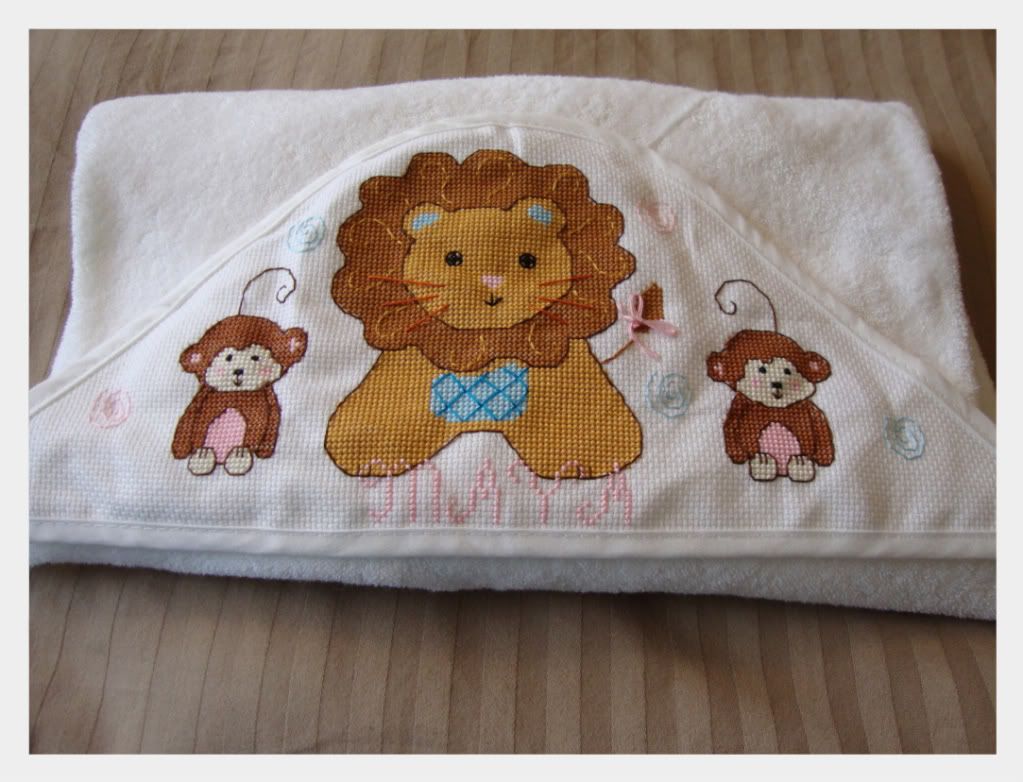
I also made a towel for his little sister this past week.

Photobucket

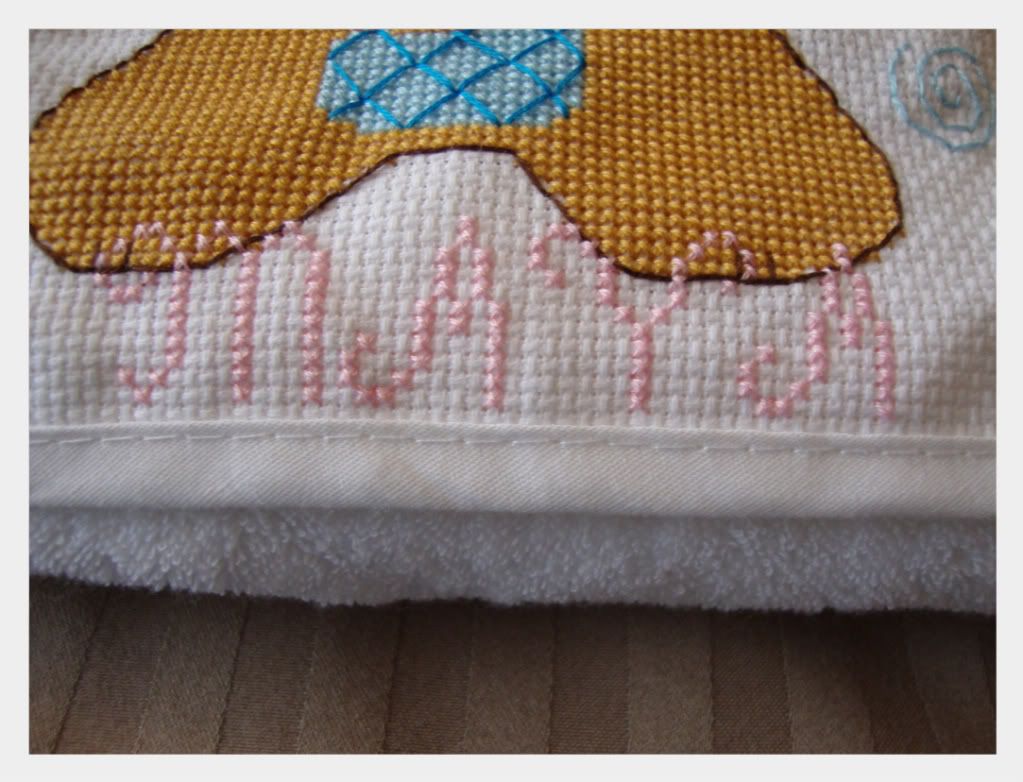
I used a girlier font on hers.  It is centered on the hood but it is off from the lion - bah!!
Photobucket

It's also nice, especially on a design that will be framed, to add your initials and or date in the corner of the design.  It's very easy to add your initials in a simple back-stitch.

There are also ways to add some sparkle and texture to your design.  You can find metallic and sparkly filaments at the craft store in the needle-craft aisle.  You can either add these to or substitute them for colors in your design.  They are so pretty.  I used light blue to make a twinkly sky once and white makes snow look amazing.

Beads and other charms also make great embellishments.  You can attach them while you are working your cross-stitches so that they are very secure.  Just use anything you find pretty and inspiring and I'm sure you can find a way to incorporate it!!
Photobucket
Related Posts Plugin for WordPress, Blogger...