First things first, how to fold the planner. Watch this video, it is extremely helpful. You will need either a left or right tab letter size file folder. A center tab won't work, and if you are using a right-tab, turn it inside-out so that it becomes a left-tab.
Supplies:
Folded File Folder
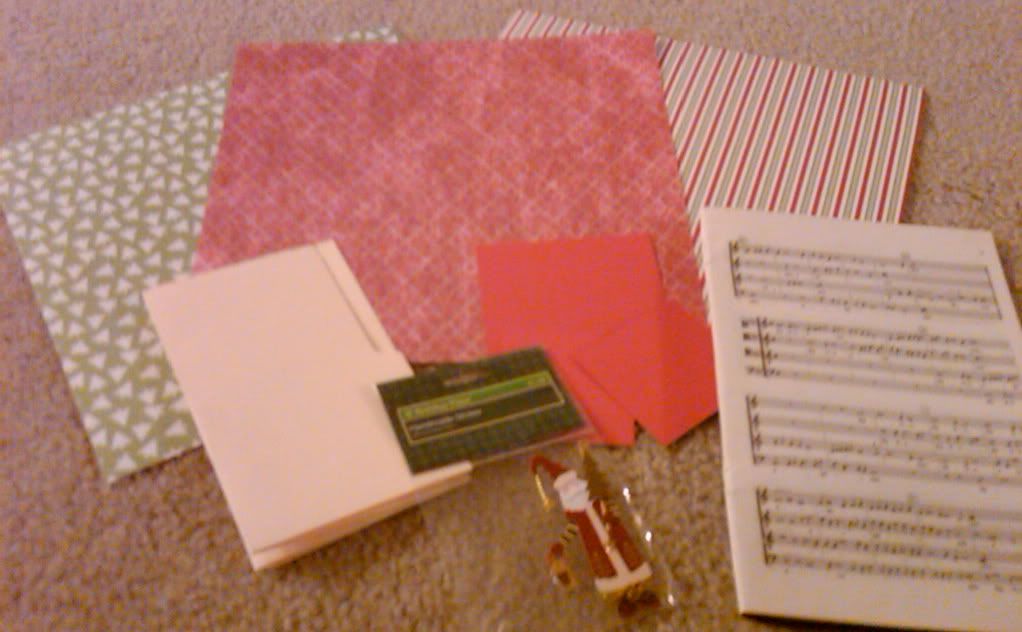
4 sheets of 12x12 scrapbook paper/card stock {3 designs}
Pencil
Scissors
Mod-Podge
Foam or Paint Brush
cricut/punch/anything to trace
*optional additional papers
Glue dots
Stickers, embellishments, etc.
Ribbon
Now that you have yours folded, let's start decorating. Start by picking out three coordinating 12x12 scrapbook papers or card stocks. I chose one for the inside "walls", one for the inside "pockets", and one for the outside
{I used paper on the blue one and card stock on this one, and I like the card stock better}.
{I used paper on the blue one and card stock on this one, and I like the card stock better}.
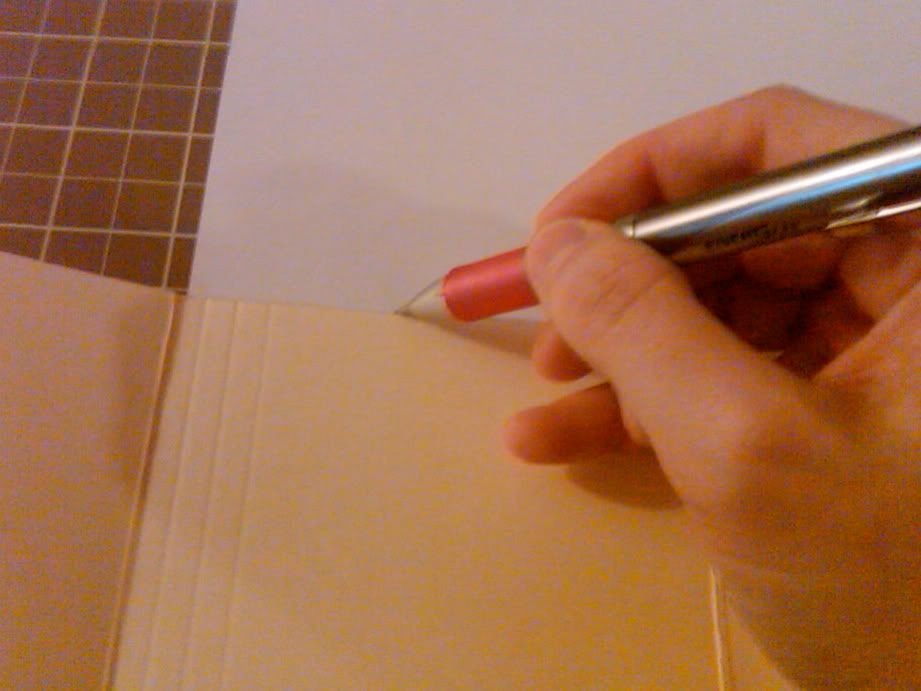
Lay your "wall" paper on the left side so that it is touching the seam and hanging over the outer edge. Position it so that it goes 1/2-1 inch below the pocket. Flip the whole thing over and trace the outline. Cut out. Repeat on the right side, matching to the center seam and hanging over the edge.
Do the seam process with the "pockets". Left side and right, lining up to the center seam and top of pocket.
Then trace each of the four sections of the outside cover {i like to label them 1-4 so that I know which piece matches which section}. You should be able to get three side from one sheet by rotating 90 degrees each time. You will need a second sheet for the fourth side.
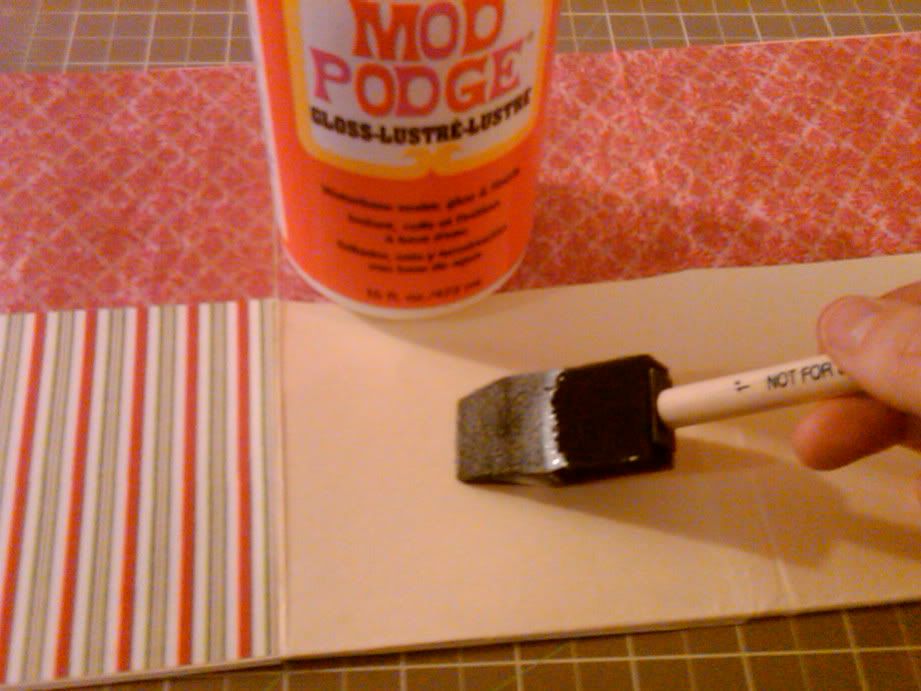
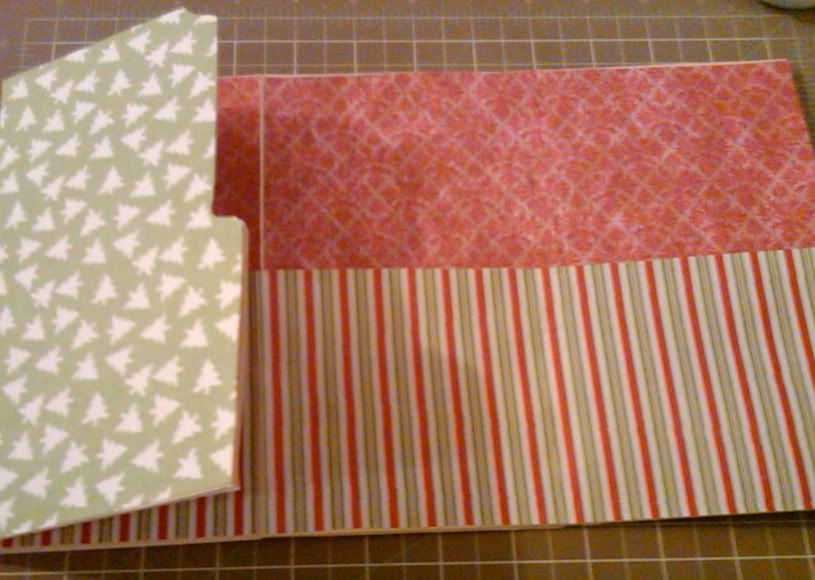
once you have all 8 peices cut {4 inside, 4 outside} start glueing them on. It doesn't matter what order you do this in. Just spread your mod-podge on one section at a time and adhere the corresponding piece of paper.
Now that you are fully covered {you will still see manila on the seams} begin making your inside labels.
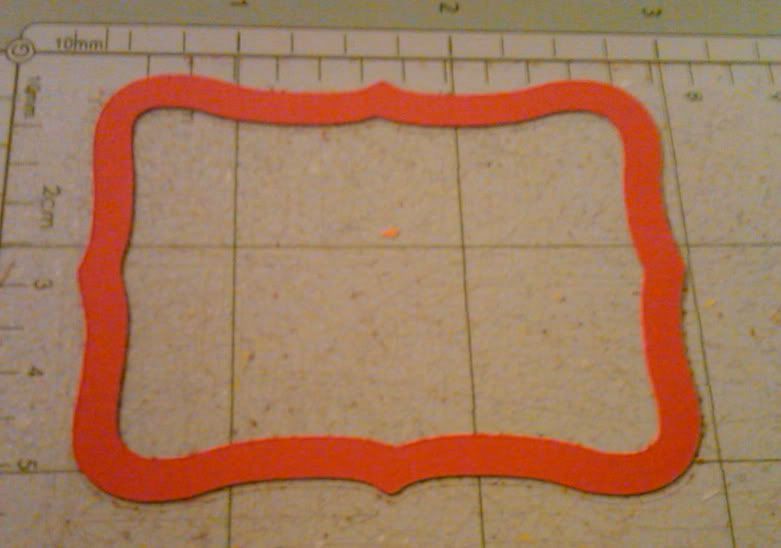
I used my cricut to cut out the background and outline, but you could trace anything you wanted, use chipboard pieces, paper punches, etc. Cut a background shape roughly 2 1/4 to 2 1/2 inches. You could use another plain card stock for this or the one from your front cover. I used old sheet music for this.
Then cut your outline shape to 2 inches, use more of the scrap from the "wall" or "pocket" or any other color you want. I used solid red card stock. It may be difficult to do this step without a cricut, so you can skip this.
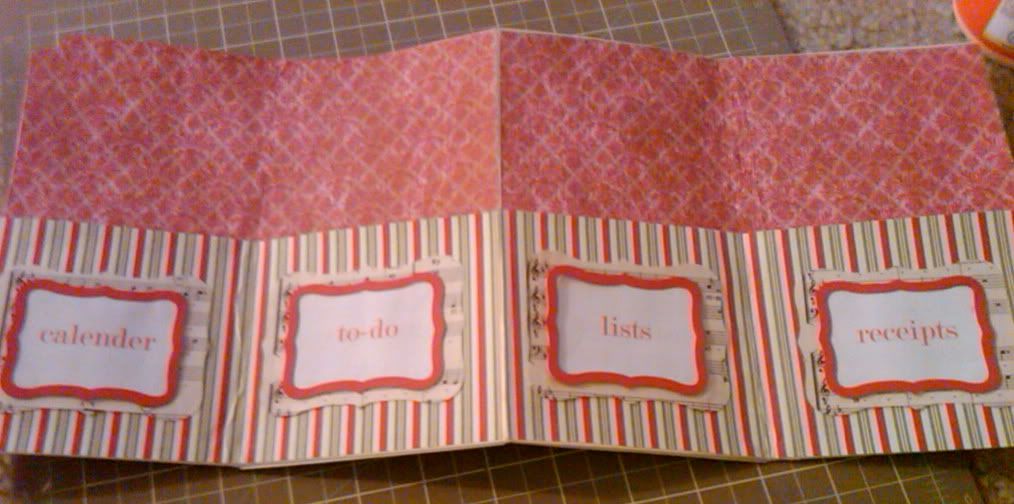
Last, print out your four section titles. I used receipts, to-do, grocery list, and coupons on the blue one and calender, to-do, lists, and receipts for this holiday planner. Label your pockets whatever makes the most sense for how you will use this.
Print them from your computer in whatever pretty font you like, or stamp them on. If you are printing {like me} glue the outline to the paper {centering the word} and then cut around the outline so that you don't see any white paper. If you stamp, go ahead and stamp right onto your scrapbook paper.
I used glue dots in each corner to adhere the label to the larger music sheet background, and then glue dots in those four corners to adhere to the pockets. A little tip to line them all up. Put one on one of the inner pockets as centered as you can, then with glue dots on, lay one of top of the adhered one, glue dots up, and fold the adjacent section over so that it picks up the label - ta da!
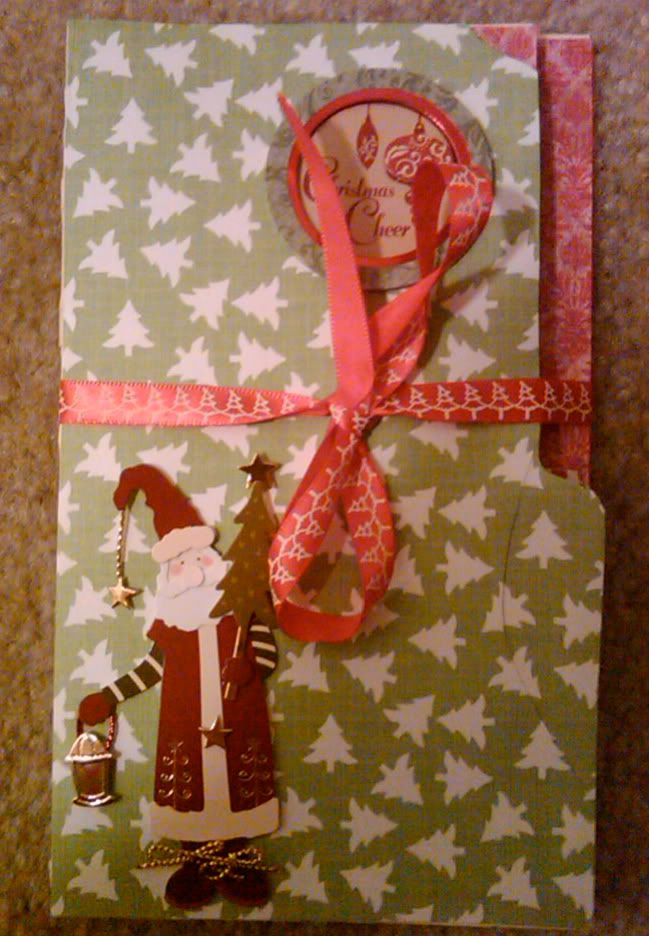
Decorate the front cover with cut-outs, monograms, stickers, anything that makes you smile.
Finally, add your ribbon closure. If you have a lot of ribbon, you can glue it down on the three other cover sections, if you only have a little, just glue it to the back. Use your mod-podge again to glue the ribbon {a q-tip works great for this} Just make sure you line it up so that it ties in a good spot and doesn't interfere with your decorations on the cover.
You can fill your pockets with papers for note making and envelopes to hold receipts and coupons neatly. You can also add double-stick tape or glue dots to the outer edges of the pockets so that things don't fall out.
Have fun trying this out and let me know if you make one!! Also, please let me know if any of my instructions need clarification. Kathy, I hope this helps!!
It took me about 2 hours to make this. {I did it while watching So You Think You Can Dance and kept stopping to watch the dances, so it might take even less time}


LOOOOVVVEEE this!!!thanks for linking!!
ReplyDeleteBecca
Wow. I bow down to that kind of organization. Not only do you know where your receipts are but you have an adorable handmade folder for them!
ReplyDeleteI am so impressed! What a great job you did. :)
ReplyDeleteThank you, Heather! I think part of my problem was that I used the Aleene's tacky craft glue rather than Mod Podge. I was confused about the back part, too, and was thinking that you would need to cut 4 individual pieces, but wasn't sure. The practice one I did for myself, but I picked up supplies to do a baby themed one for my daughter {she just found out she's expecting and it's the first grandchild!}.
ReplyDeleteThis looks fun and great! I immediately pulled out a folder while watching your tutorial.
ReplyDeleteThis is a great project since this year we are RECYCLING and REUSING to make homemade gifts.
My mother would love this and so I'm going to have my 15yr old daughter decorate it the rest of the way.
Thanks so much!!!
**thanks for showing how "not to fold" cuz that was very helpful!!
Very cool! Thanks for sharing that lovely tutorial!
ReplyDeleteLinda
Cute!! Great tutorial!
ReplyDeleteThanks so Much I needed something for my daughter to help her with budgeting while she is at college and both of us for Christmas.
ReplyDeleteJust popped back in to let you know I finished the one for my daughter and posted about it with a link to you, Heather! Thanks for your help!
ReplyDeleteWhat a great idea! I'm going to make some for my friends for Christmas! Thanks for the great tutorial! I subscribed to your blog, now I'm going to poke around on your blog a little. Come visit me-
ReplyDeletehttp://songberries.blogspot.com
OK. those are the cutest folders EVER. I love the papers you chose - so, so cute!
ReplyDeletesuper cute! awesome tutorial. found you by way of Beth's blog "The Stories of A to Z"..so glad she sent me over...now off to see the rest of "Pixie Dust"!
ReplyDeleteWhat a great tutorial! Thanks for sharing this. :)
ReplyDeleteI inclination not agree on it. I regard as nice post. Especially the title attracted me to read the sound story.
ReplyDeleteNice dispatch and this post helped me alot in my college assignement. Gratefulness you as your information.
ReplyDelete